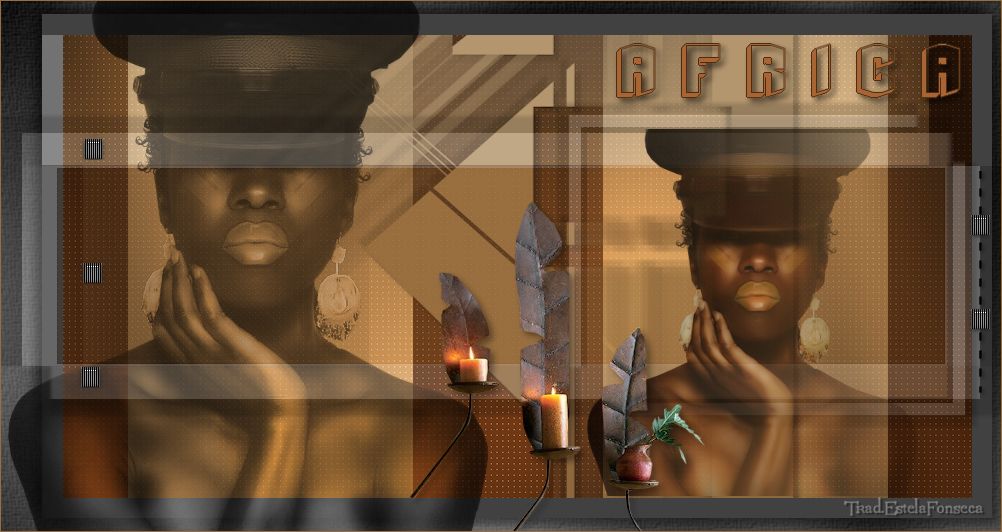
AFRICA
Tutorial de ©Edith Graphics - Original Aqui
Material Necessário:
2 tubes de Guismo
1 mask de Cameron
1 deco
1 fonte
1 texto
1 Seleção - Coloque na pasta de seleções.
Os tubes são para uso pessoal, alguns incluem uma marca d'água,
É proibido remover, modificar ou distribuir os tubes na rede.
Agradeço aos criadores de tubes pelas suas licenças.
Plugins Utilizados:
AAA Frame
AAA Filters
Carolaine & Sensibility
&bk kaleidoscope
Graphics plus (Unlimited)
Paper texture(Unlimited)
Trabalhe nas cópias.
Primeiro Plano Cor: #2d1406 - Segundo Plano Cor: #7d562e
1- Abra uma nova imagem transparente de 1000 / 530 pixelsPreencha com a cor do Primeiro Plano.
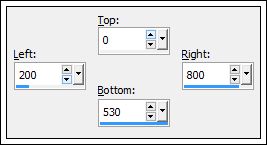
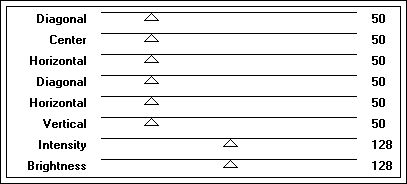
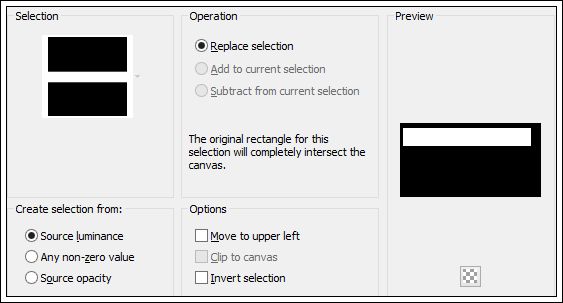
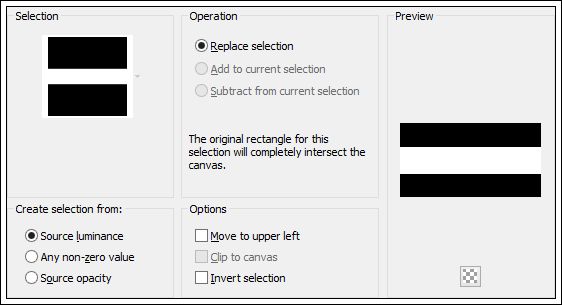
2- Ferramenta Selection Tool (S) / Custom Selection:
Preencha a seleção com a cor do Segundo Plano.
Selections / select None
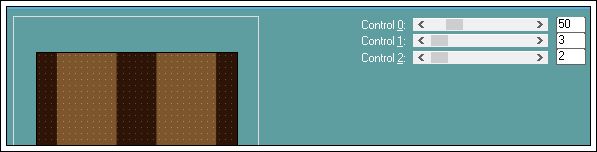
3- Effects / Plugins / I.C.NET Software / Filters Unlimited / &<bkg kaleidoscope> / @Mirroed & Scaled
4- Effects / Plugins / Carolaine & Sensibility / CSLDots
5- Layers / New raster layer
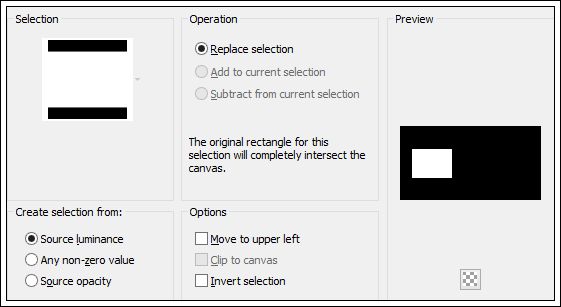
Ferramenta Selection Tool (S) / Custom Selection:
Preencha com a cor do Segundo Plano
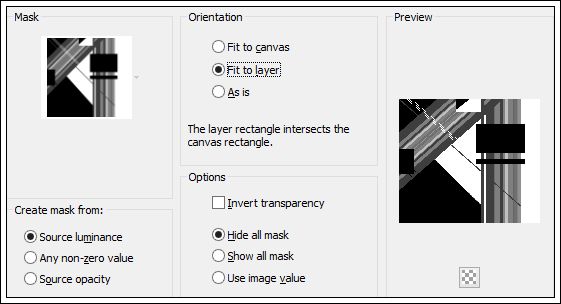
6- Layers / load save mask / Load mask from disk:
Layers / Merge / Merge GroupSelections / Select None
Effects / 3D Effects / Drop Shadow: Positivo e negativo: 7/7/40/5 / #000000
7- Ative a layer do fundo.Effects / Plugins / Graphics plus / Cross shadow:
Layers / Merge / Merge visible
Correction Gamma : 1,20 :
8- Layers / New raster layerLayers / Arrange / Move Down
preencha com a cor #414141
Effects / Plugins / Graphics plus / Cross shadow:
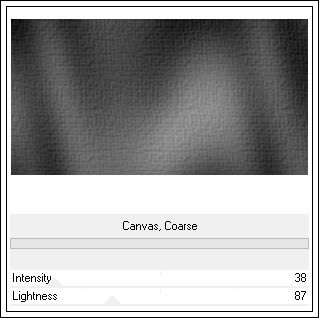
9- Effects / Plugins / I.C.NET- Software / Filters Unlimited 2.0 / Paper textures:
10- Ative a layer (Raster 1)Image / Resize / 95% - Resize all layers desmarcado
Ferramenta Selection Tool (S) / Clique em <<Layer opaque>>
Effects / Plugins / Graphics plus / Metal border / Default
Nota: Importe esse plugin para o Unlimited, senão o efeito fica totalmente diferente.
Selections / Select None
Selecione a borda branca com a varinha mágica
preencha com a cor: #414141
Selections / Select None
Effects / 3D Effects / Drop shadow: Positivo e Negativo: 7/7/50/15
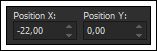
Ative a Ferramenta Raster Deform Tool / Position:
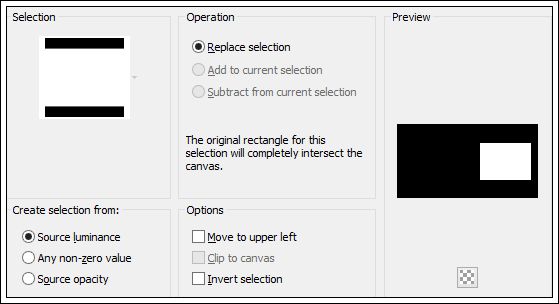
Selections / Load save selection / Load selection from disk: "sélection01africa"
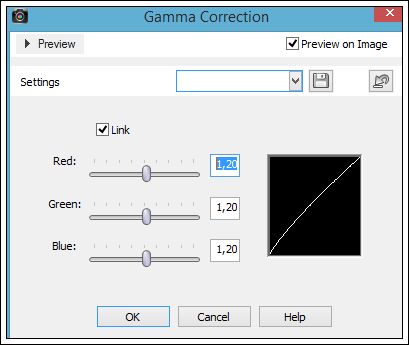
Correction gamma : 1,70
Selections / Select None
11- Layers / New raster layer
Selections / Load save selection / Load selection from disk: "sélection02africa"
Preencha com a cor do segundo plano
Opacidade / 24%
Effects / Plugins / Carolaine & Sensibility / CSLDots
Selections / Select None
12- Abra o tube "Calguisbeautycofee" copie e cole como nova layer
Ferramenta Raster Deform Tool /Position :
Opacidade / 72%Blend Mode / Luminance
Adjust / Sharpness / Sharpen
13- Layers / New raster layer
Selections / Load save selection / Load selection from disk: "sélection03africa"
Preencha com a cor do segundo plano
Opacidade / 20%
Effects / Plugin / Carolaine & Sensibility / Reflection:
Effects /Plugin / Carolaine & Sensibility / CSLDots
Selections / Select None
Effects / 3D Effects / Drop Shadow: Positivo e Negativo: 50/50/80/5 #000000
14- Ferramenta Selection Tool(S) / Clique em Layer Opaque:
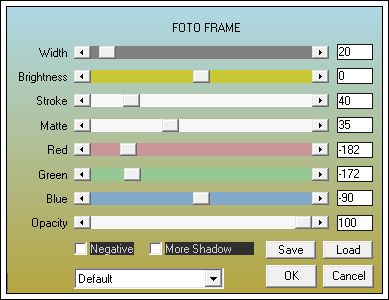
Effects / Plugins / AAA Frames / foto frame:
Selections / Select None
Adjust / Sharpness / Sharpen
15- Layers / New raster layer
Selections / Load save selection / Load selection from disk: "sélection04africa"
Preencha com a cor do segundo Plano
Opacidade / 20%
Selections / Select None
Effects / 3D Effects / Drop Shadow: positivo e negativo: 30/30/80/5 #000000
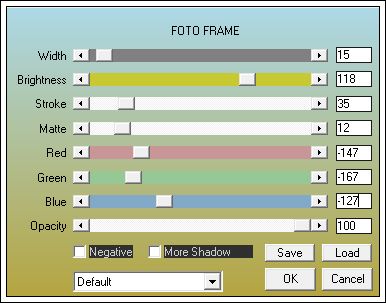
16- Ferramenta Selection Tool(S) / Clique em Layer Opaque:
Effects / Plugins / AAA Frames / Foto Frame:
Selections / Select None
17- Abra o tube "Beauty cofee" copie e cole como nova layer
Image / Resize / 69% - resize all layers desmarcado
Ferramenta Raster Deform Tool / Position :
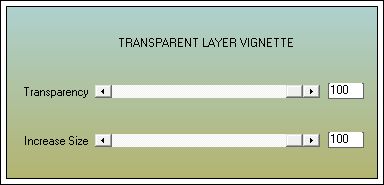
18- Effects / Plugin / AAA Filters / Transparent vignette
Adjust / Sharpness / SharpenCorrection gamma : 1,10
19- Ative o tube "calguisdeco31072014""Image / Resize / 408 pixels de altura
Copie e cole como nova layer
Effects / 3D Effects / Drop shadow: 4/4/40/10 / #000000
Arraste um pouco para baixo
20- Abra o texto, copie e cole como nova layerPosicione
21- Faça sua decoração como preferir.
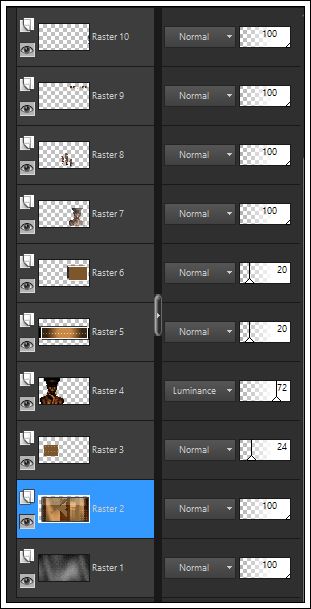
Suas layers estão assim:
22- Adicione uma borda de 1 pixel cor do segundo planoAssine seu trabalho
Layers / Merge / Merge All
Export como Jpg Optimizado.
©Tutorial Traduzido por Estela Fonseca 22/03/2014.
Obrigada Edith por me permitir traduzir seus trabalhos.