EXTRUDE
Tutorial de ©Créa Barbouille - Original Aqui
Materiais: 1 Mask, 2 Seleções e 1 Fonte. AQUI
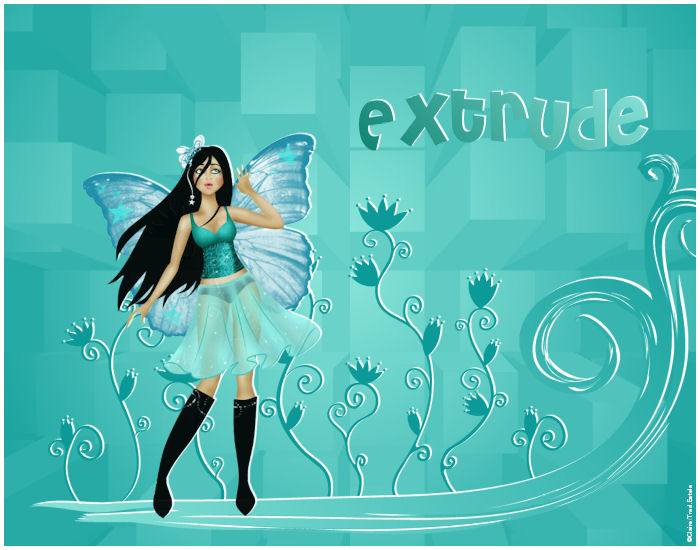
Tube de sua escolha.
Usei uma imagem de Carolina Seabra.
Instale as seleções no seu PSP. Minimize a fonte .
1:) Foreground cor # fed33e, background cor #d53c14.
Abrir uma imagem transparente de 750px/550px.
Preencha com a cor do background #d53c14.
2:) Abra a mask "claire_masque_extrude"
Em seu trabalho,
Layers, new layer
Preencha com a cor do foreground # fed33e.
Layers, new mask layer , from image
Selecione: "claire_masque_extrude"
Effects, edge enhance more
Merge group.
3:) Layers, new layer
Selection, load selection from disk
Selecione: "claire_extrude1".
Preencha com a cor do background #d53c14.
Selections, select none.
Aplique a sombra (-1/2/100/0 / # ffffff).
4:) Forme um gradiente linear (48 / 0)
Layers, new layer
Selections, load selection, from disk
Selecione: "claire_extrude".
Preencha com o gradiente.
Selections, slect none.
Aplique a sombra: (-2/3/100/0 / # ffffff).
5) Abra o tube de sua escolha.
Se necessário, redimensione.
Copie e cole como nova layer.
Posicione.
Aplique a sombra (-1/2/100/0 / # ffffff).
6:) Inverta o Gradiente colocando-o no background, oculte a cor do foreground.
Escreva "Extrude", com a fonte "Cheri", tamanho (72px).
Converta em uma layer e posicione.
Effects distortion wave (0/10/1/30/transparent).
Aplique a sombra (-1/2/100/0 / # ffffff).
7:) Layers, new layer.
Preencha com a cor "ffffff".
Selections, select all
Seleções, modify, contract (4).
Pressione o botão "Delete" no teclado.
Selections, select none.
Assine seu trabalho. Merge all.
Salve como JPG otimizado.
©Tutorial Traduzido por Estela Fonseca 04/06/2009.
Obrigada Claire por me permitir traduzir seu trabalho.