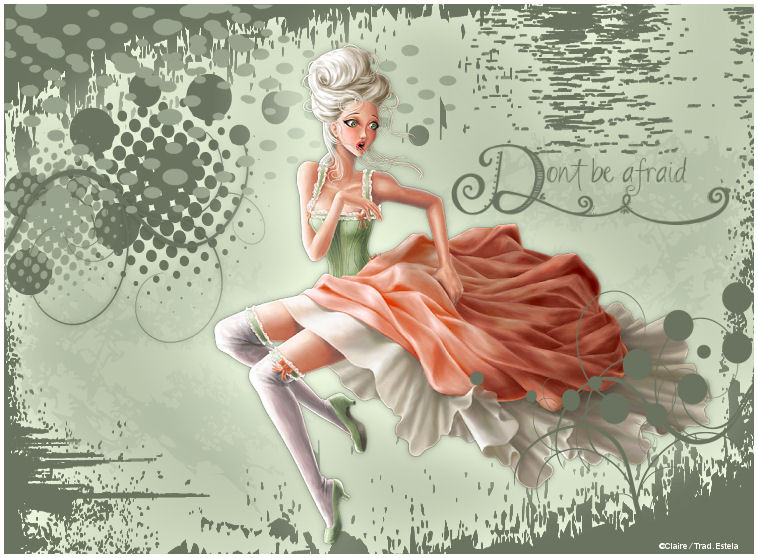
AFRAID
Tutorial de ©Créa Barbouille - Original Aqui
Material Necessário:
Tube de sua escolha.
Para este tutorial, usei um tube de Marif , a quem, agradeço por sua permissão!
Instale as seleções no seu PSP
Minimize a fonte.
1:) Abra uma imagem transparente de 750px/550px/Preencha com a cor "bbc6ad".
2) Foreground cor # 6a735f, Background cor # 97a38c .
Layers, new layer/Preencha com a cor do foreground: #6a735f.
Selections, load selections, from disk.
Procure a seleção "claire_afraid_1". Invert Selection marcado.
Pressione o botão "delete" no teclado.Selections, select none.
Renomeie essa layer para "1"
3:) Layers, duplicate.
Ative a layer "1", Adjust brightness and contrast (255 / 0).
Adjust, blur, gaussian blur (30).
Mude o blend da layer para luminance legacy.
4:) Ative a layer superior.Layers, new layer/Preencha com a cor do foreground: 97a38c.
Selections , load selection from disk. Procure a seleção "claire_afraid_2" .Invert selection marcado.
Pressione o botão "delete" no teclado. Selections , select none.
Opacidade da layer (24%).
5:) Layers, new layer/ Preencha com a cor do foreground: 6a735f.
Selections, load selections, from disk. Procure a seleção "claire_afraid_3" / Selection invert, marcado.
Pressione o botão "Delete" no teclado. Selections, select none.
Nomeie essa layer para: "3".
6:) Layers, duplicate.
Ative a layer "3",
Adjust brightness and contrast (255 / 0).
Adjust blur gaussian blur (30).
Mude o blend mode para Luminance Legacy.
7:) Ative a layer superior. Layers, new layer. / Preencha com a cor do background 97a38c.
Selections, load selection, from disk. / Procure a seleção "claire_afraid_4" Invert marcado.
Pressione o botão "delete" no teclado.
Selections, select none.
8:) Layers, new layer . Preencha com a cor do foreground 6a735f.
Selections, load selection from disk. Procure a seleção "claire_afraid_5" , invert marcado.
Pressione o botão "delete" no teclado. Selections, select none.
Aplique a sombra (0/0/30/10 / # 000000).
9:) Layers, new layer. Preencha com a cor do background 97a38c.
Selections, load selection from disk / procure a seleção "claire_afraid_6" / invert marcado.
Pressione o botão "delete" no teclado.
Selections, select none.
10:) Abra o tube de sua escolha.
Se necessário redimensione, copie e cole como nova layer.
Posicione. Nomeie essa layer de "tube".
11:) Layers, duplicate.
Ative a layer "tube"
Adjust Brightness and Contrast (255 / 0).
Adjust Blur Gaussian Blur (30).
Effects distortion effects wind , right, (100).
Mude o blend da layer para luminance.
12:) Ative a layer superior.
Aplique a sombra (0/0/30/10 / # 000000).
13:) Layers, new layer,
Preencha com a cor do foreground 6a735f.
Selections, load selections, from disk
Procure a seleção "claire_afraid_7"
Invert marcado
Pressione o botão "delete" no teclado.
Selections, select none.
14:) Foreground nulo, Background cor: 6a735f.
Escreva "Não tenhas medo", com a fonte "TKDoodle", tamanho (48px)
(Nota: Não é possível apóstrofos com essa fonte!)
Posicione.
15:) Adicione bordas simétricas de (4) pixels , Cor "ffffff".
Assine seu trabalho. Merge all. Salve em JPG otimizado.
©Tutorial Traduzido por Estela Fonseca 19/04/2009.
Obrigada Claire por me permitir traduzir seu trabalho.