MICHELE
Tutorial de ©Créa Barbouille - Original Aqui
Materiais: 2 máscara, 1 seleção, 1 tube. AQUI
Jet agradeço a permissão para usar seu tubo neste tutorial!
Instale a seleção em seu PSP.
1:) Foreground "d8ded5" / Background cor "1a2926 "
Abra uma imagem transparente de 750px/489px
Preencha com a cor do background "1a2926"
2:) Abra a mask "masque1_michele_claire"
Em seu trabalho,
Layers, New Layer
Preencha com a cor do foreground "d8ded5 "
Layers, new mask layer, from image
Selecione "masque1_michele_claire"
Effects, edge enhance more
Merge group.
3) Abra a mask "masque2_michele_claire"
Em seu trabalho,
Layers, New Layer
Preencha com a cor foreground "d8ded5 "
Layers, new mask layer, from image
Selecione a "masque2_michele_claire"
Merge group.
Adjust, sharpness, sharpen.
4) Abra o tube "jet woman25-mei-2008"
Image, resize (480px) altura.
Adjust sharpen, sharpen.
Posicione.
Aplique a sombra (3/40/70/10 / # 36423f).
5:) Layers, new layer
Selections, load selection from disk
Selecione: "claire_michele"
Preencha com a cor do foreground "d8ded5"
Selections, select none.
Mude o blend mode dessa layer para screen.
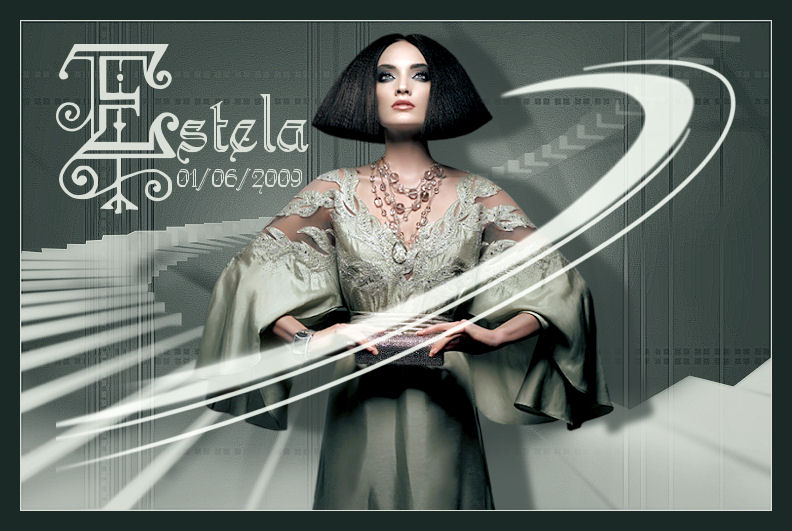
6:) Para a assinatura eu usei a fonte "Blackletter686 BT"
O meu tamanho original (150px), o resto do nome, tamanho (72px) e as datas, tamanho (22px)
Cor background "d8ded5" /Cor do foreground oculto.
7:) Image, add borders symmétric (1), cor d8ded5.
Image, add borders symmétric (20), Cor "1a2926".
Adjust, brightness and contrast, clarity (1).
Salve em JPG otimizado.
VOLTAR
©Tutorial Traduzido por Estela Fonseca 08/06/2009.
Obrigada Claire por me permitir traduzir seu trabalho.