Materiais: 1 Mask, 1 tube, 2 seleções, 1 fonte. AQUI
Jet agradeço a permissão para usar seu tube neste tutorial.
Instale as seleções na pasta de seleções do PSP. Minimize a fonte.
1:) Abra uma imagem transparente de 750px/500px.Preencha com a cor #010233
2:) Foreground cor #482.859, Background cor #389c79
Prepare no foreground um Gradiente linear (90 / 3)
Abra a mask "masque_madame_claire"
Layers, New Layer
Preencha com o gradiente.
Layers, new mask layer, from image
Mask "Load masque_madame_claire"
Merge group.
3:) Layers, New Layer
Preencha com cor #f7e8e1
Selections, Load save selection, load selection from disk
Seleção "claire_madame1"
Invert, Selection, marcado
Pressione a tecla Delete no teclado.
Selections, select none
Blend Mode dessa layer, overlay.
4:) Layers, New Layer
Preencha com a cor #f7e8e1
Selections, Load save selection, load selection from disk
Seleção "claire_madame2"
Invert, selection marcado
Pressione a tecla Delete no teclado.
Selections, Load save selection, load selection from disk
Selection "claire_madame1"
Pressione a tecla Delete no teclado.
Selections , select none
Adjust, sharpness , sharpen
Blend Mode dessa layer, overlay
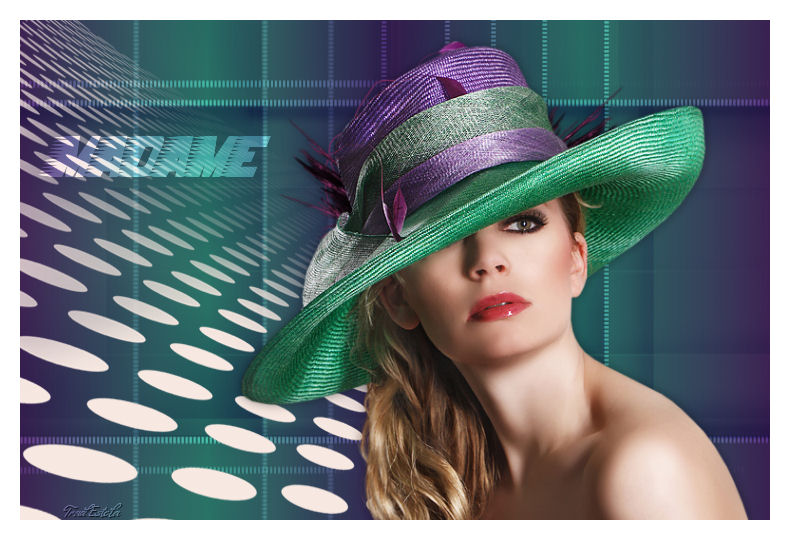
5:) Abra o tube "jet-Woman18 maart-2008"
Copie / cole como nova layer
Posicione
Aplique a sombra (0/0/40/15 / # 000000)
6:) Oculte a cor do foreground, background cor #f7e8e1
Escreva "Madame", com letras maiúsculas com a fonte "Barbatrick",
tamanho (72px) kerning (100)
Converta em layer
Posicione.
Blend Mode - Overlay.
7:) Adicione uma borda simétrica de (20), cor #ffffff
Assine seu trabalho e salve como jpg optimizer
©Tutorial Traduzido por Estela Fonseca em Março de 2010.
Não alterar nem repassar sem autorização.