OPALE
Tutorial original criado por ©@thenais - Original Aqui
Traduzido no Corel X8
Material Necessário:
NicoleCorinne Vicaire
Plugins Utilizados:Greg Factory out put Vol II
Flaming Pear
Emboss 3
Preparação:
Abra o material duplique e feche os originais.
Se você utiliza cores próprias, não exite em jogar com os "blend mode'
e com as opacidades das layers.
*
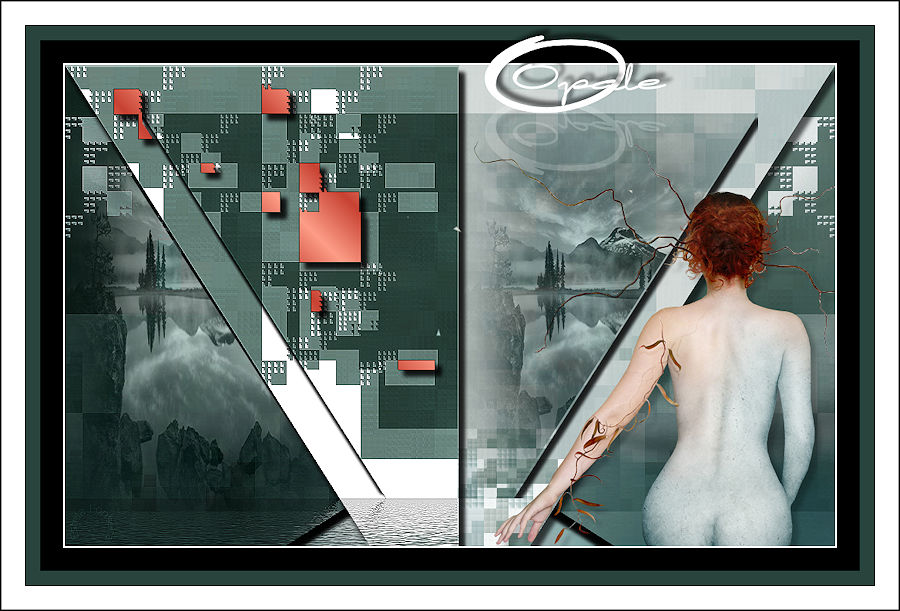
1- Abra a imagem <<Background >>Layers / Duplicate
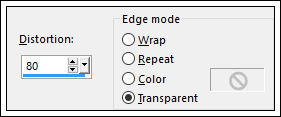
Effects / Geometric effects / Perspective Vertical
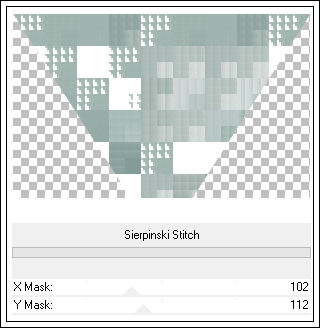
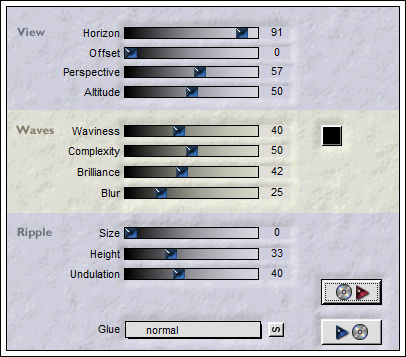
2- Effects / Plugin / Greg Factory out put Vol II / Sierpinski Stitch
Effects / 3D Effects / Drop Shadow: 8 / 8 / 60 / 8,00 / #000000
Effects / 3D Effects / Drop Shadow: -8 / -8 / 60 / 8,00 / #0000003- Layers / Duplicate
Image / Free Rotate / 90° / Right
Effects / Image Effects / Offset: 196 / 0 / Custom / Transparente
Layers / Arrange / Move down
Layers / Duplicate
Image / Mirror
Layers / Merge / Merge Down
Blend Mode / Multiply
4- Ative a Layer do topo
Layers / Duplicate
Image / Resize / 80% (Resize all layers desmarcado)
Blend Mode / Multiply
Layers / Merge / Merge visible
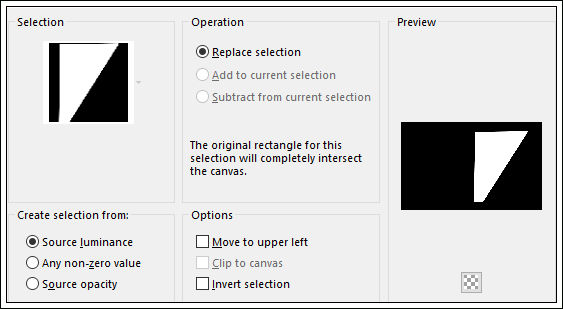
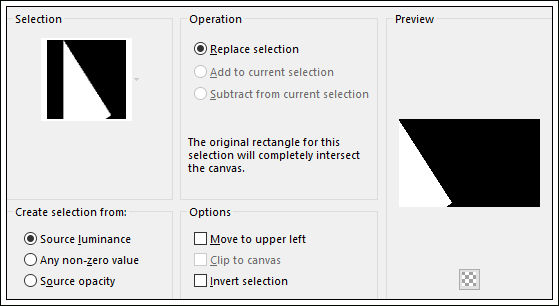
5- Custom / Selection
Selection / Promote Selection to Layer
Effects / Plugin / Flaming Pear / Flood
Selections / Select None
Effects / Edge Effects / Enhance
Effects / 3D Effects / Drop Shadow: 8 / -8 / 60 / 8,00 / #000000
6- Selections / Load save selection / Load selection from disk: Athe Opale
Layers / New Raster LayerAbra o tube <<Paysage 26.11.10.05 tubes & mists corinne.vicaire>>
Copie e Cole na seleção
Blend Mode / Luminance Legacy
Selections / Select None
7- Selections / Load save selection / Load selection from disk: Athe Opale2
Layers / New Raster LayerCole na seleção ( o tube ainda está na memória)
Blend Mode / Luminance Legacy
Selections / Select nOne
8- Layers / Merge / Merge All
Layers / Promote Background Layer
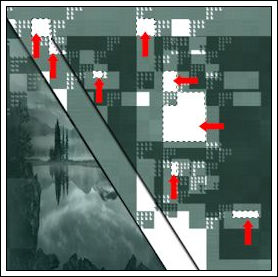
Ative a Varinha Mágica / Add / Shift / Tolerance 0 / Contiguos e Anti Alias Marcado
Selecione as partes brancas:
Selections / Promote selection to layer
9- Faça um Gradiente Estilo Linear
Foreground Cor #C5442F
Background Cor #FE9C8A
Preencha a Seleção com esse Gradiente
Effects / 3D Effects / Drop Shadow: 8/-8/60/8,00 / #000000.
Blend Mode / Multiply9- Abra o tube <<nicole-etrange by_temporary_peace>>
Copie e Cole como nova layer
Mova para à direita
Effects / 3D Effects / Drop Shadow: 8/-8/60/8,00 / #000000.
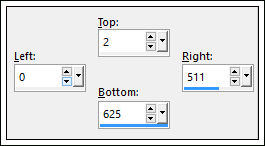
10- Image / Add Borders /Symmetric marcado / 2 pixels cor #ffffff
Image / Add Borders / Symmetric marcado/ 30 pixels cor#000000
Image / Add Borders /Symmetric marcado/ 20 pixels cor #2e463d
Image / Add Borders / Symmetric marcado/ 30 pixels cor#ffffff
Image / Add Borders /Symmetric marcado / 2 pixels cor #00000011- Abra o tube <<Text>> Copie e Cole como nova layer
Effects / Image Effects / Offset: 170/260 / Custom transparente marcado
Redimensione seu trabalho, se desejar.Assine seu trabalho
Salve como JPG
©Tutorial Traduzido por Estela Fonseca 21/10/2015.
Obrigada Athenais por me permitir traduzir seu trabalho.