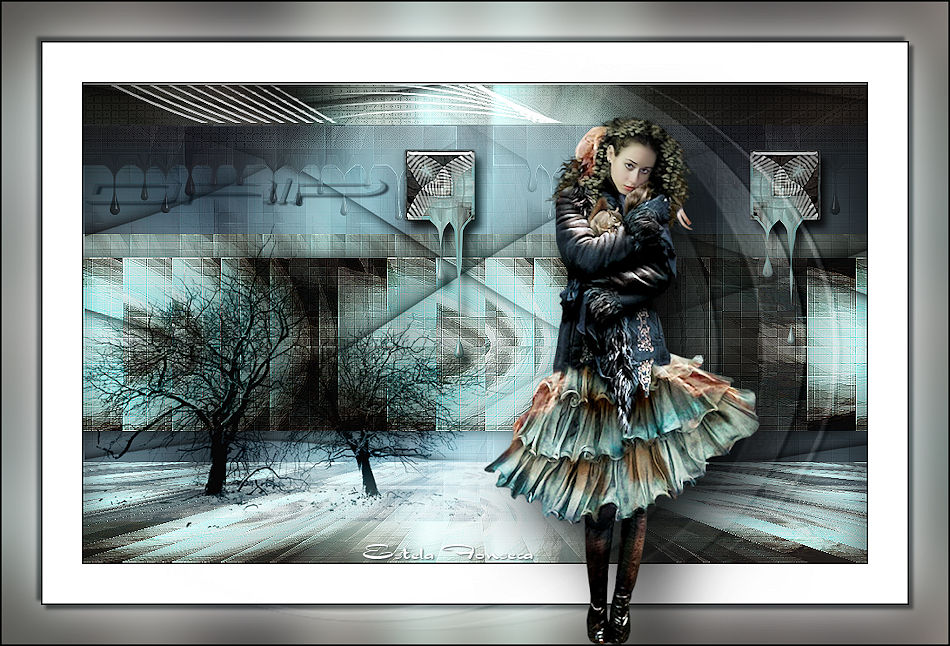
DRIP
Tutorial original criado por ©@thenais - Original Aqui
Traduzido no Corel X8
Material Necessário:
Se os tubes aqui utilizados não estão isentos de direitos, por favor me avise,para que eu os retire de meu site.
Obrigada aos tubeiros:
Room
Narah
Jenny
É proibido modificar, alterar o nome e retirar a marca d'água.
É proibido compartilhar em grupo ou oferecer na web (blog site, ..)
Seu uso em tutoriais está sujeita a autorização dos autores, obrigado por cumprir .
Plugins Utilizados:
AFS import
FM Tool
Graphic plus
Toadies
Italian Editor
Nick software
Mura Meister
Adjust variation
Eyes candy 4000
Eyes candy impact 5
Dependendo das suas cores o Modo e a Opacidade pode variar.
1- Abra <<fonds-tuto-Drip-athe.jpg>>
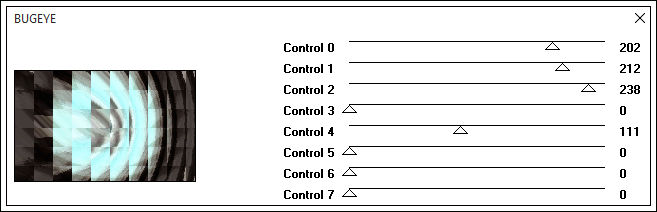
2- Effects / Plugin / AFS Import / Bugeye
Nota : Colorise usando as cores de seu tube
3- Layers / Duplicate
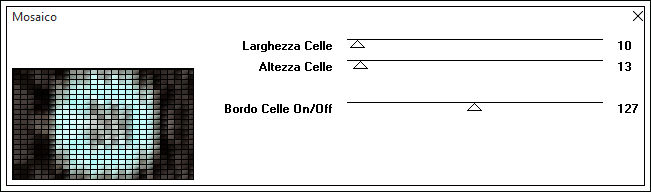
Effects / Plugin / It@lian Editors / Mosaico
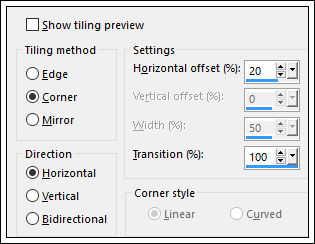
Blend Mode / Soft Light4- Effects / Image Effects / Seamless Tiling
Layers / Merge / Merge visible
Window / Duplicate
Minimize essa cópia... trabalhe na original
5- Layers / Duplicate
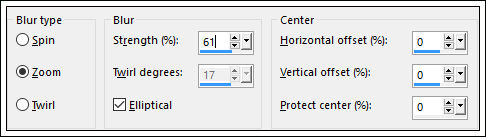
Adjust / Blur / Radial Blur
Layers / Arrange / Move Down
6- Ative a layer do topo
Image / Resize / 60% (resize all layers desmarcado)
Effects / Image Effects / Seamless Tiling
Adjust / Sharpness / Sharpen
7- Layers / Duplicate
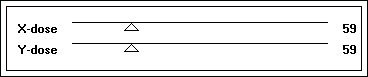
Effects / Plugin / Toadies / What are you?
Effects / Plugin / Graphic Plus / Cross Shadow
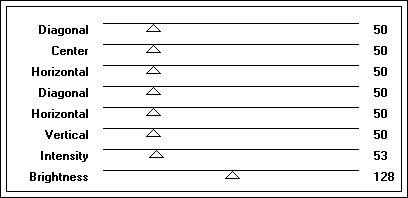
Effects / Plugin / FM Tile Tools / Default
8- Blend Mode / Multiply
Layers / Arrange / Move down
Ative a layer do topo
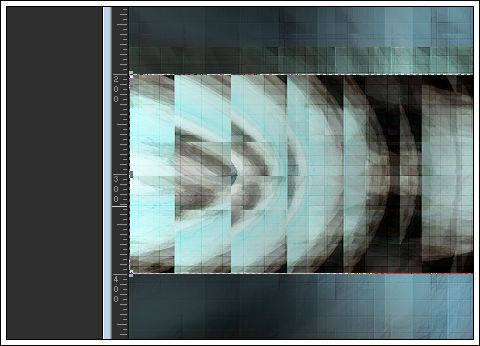
Ative a Régua
Ferramenta Raster Deform Tool - Escale
Arraste para baixo até 200 pixels
E de Baixo para cima até 400 pixels
View / Rullers (para desativar a Régua)
Effects / Plugin / Alien Skin Eye Candy 5 / Impact / Perspective Shadow / preset athe-ps-Drip
Adjust / Sharpness / SharpenEffects / Plugin / FM Tile Tools / Blend Emboss / Default
9- Feche a layer do fundo
Layers / Merge / Merge visibleAbra a layer do fundo!
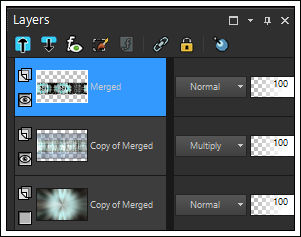
10- Na Layer do topo (Merged)
Layers / Duplicate
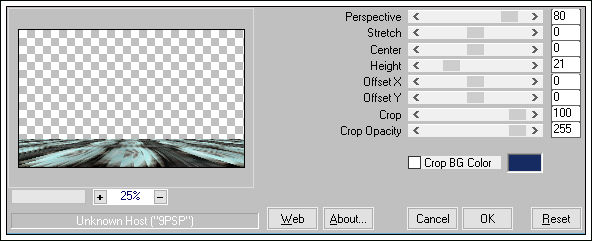
Effects / Plugin / Mura's meister / Perspective Tiling
Blend Mode / Screen11- Layers / New Raster Layer
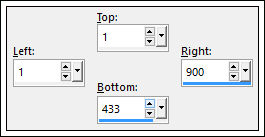
Ferramenta Selection Tool / Custom Selection:
Abra o tube <<element-1-athe-DRIP >> Copie e cole na seleção
Selections / Select None
12- Layers / New Raster Layer
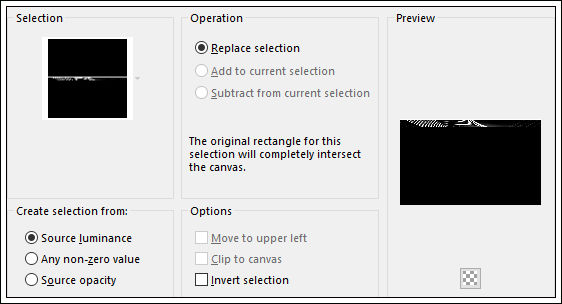
Selections / Load save selection / Load selection from disk: sel athe -drip1
Preencha a seleção com a cor #ffffff
Selections / Select None13- Ative a layer do fundo (Copy of Merged)
Abra o tube <<element-2-athe-DRIP>> Copie e cole como nova layer
Blend Mode / Overlay
Opacidade / 65
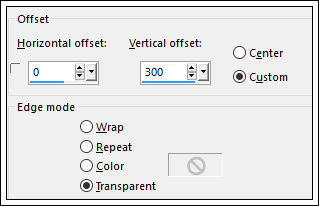
Effects / Edge Effects / Enhance (2 vezes)Effects / Image Effects / Offset:
Layers / Merge / Merge visible
14- Ferramenta Selection Tool / Custom Selection:
Selections / Promote selection to layer
Selections / Select None
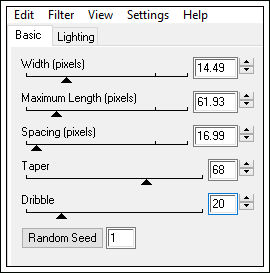
Effects / Plugin / Eye Candy 4000 / Drip
Adjust / Sharpness / Sharpen
Layers / Duplicate
Image / Mirror
15- Abra o tube << element-3-athe-DRIP>> Copie e Cole como nova layer
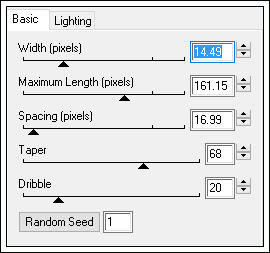
PosicioneEffects / Plugin / Eye Candy 4000 / Drip
16- Effects / Plugin / Alien Skin Eye Candy 5 /Impact / Perspective Shadow Drop shadow Low
17- Abra o Brush
<<brush_twotrees_by_roon1305-d356mi2>>
Copie e Cole como nova layerImage / Resize / 70% (Resize all layers , desmarcado)
Blend Mode / Luminance Legacy
Posicione
18- Image / Add Borders / 2 pixels / Symmetric / Cor #000000
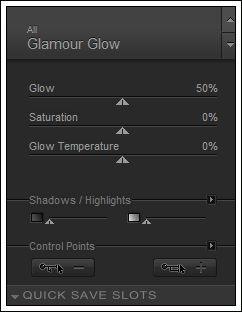
Effects / Plugin / Nick software / Color Efex Pro 3 /Glamour glow
19- Adjust / Sharpness / Sharpen
Image / Add Borders / Symmetric / 45 pixels cor #ffffff
Image / Add Borders / 2 pixels / Symmetric / Cor #000000Image / Add Borders / Symmetric / 45 pixels cor #ffffff
Selecione essa borda
Selections / Invert
Effects / 3D Effects / Drop Shadow: 5 / 5 / 60 / 5,00 / # 000000
Refaça com os valores: -5 /- 5 / 60 / 5,00 / #000000
20- Selections / Invert
Layers / New Raster Layer
Maximize a imagem minimizada no inicio
Copie e Cole na seleção
Adjust / Blur / Gaussian Blur / Radius 30
Opacidade / 71
Selections / Select None21- Layers / New Raster Layer
Preencha com a cor #ffffff
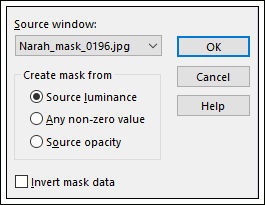
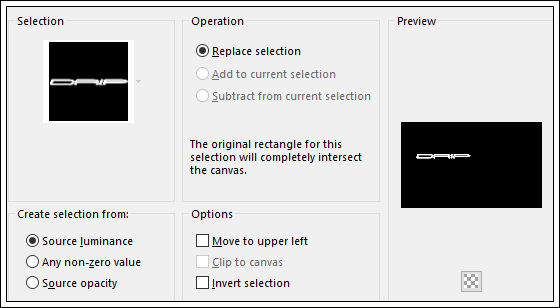
Layers / New Mask layer / From Image: Narah_mask_0196
Layers / Merge / Merge groupBlend Mode / Soft Light
Image / Mirror
Effects / 3D Effects / Drop Shadow: 2 / 4 / 80 / 2,00 / # 000000
Layers / Merge / Merge Visible
22- Selections / Load save selection / Load selection from disk: athe-drip2
Selections / Promote selection to layerSelections / Select none
Effects / 3D Effects / Drop Shadow: 2 / 4 / 80 / 2,00 / # 000000
Adjust / Sharpness / Sharpen
23- Abra o tube <<Jen_Vrouw 123_15-10-2009>> Copie e Cole como nova layer
Image / Resize / 80% (Resize all layers desmarcado)
Aplique uma sombra de sua escolha
Image / Add Borders / 2 pixels / Symmetric / Cor #000000
Assine seu trabalho
Salve como JPG
©Tutorial Traduzido por Estela Fonseca 21/10/2015.
Obrigada Athenais por me permitir traduzir seu trabalho.