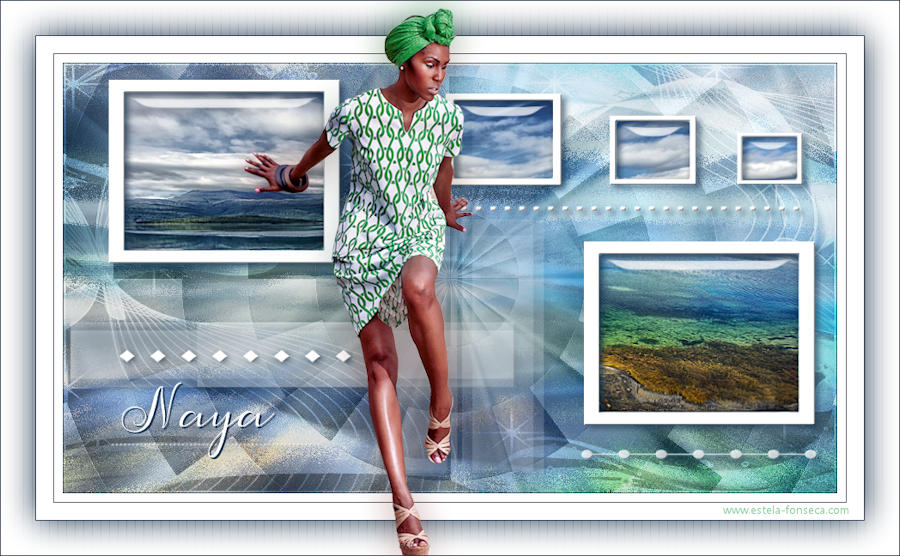
NAYA
Este Tutorial é de ©Animabelle.
Tutorial realizado no Corel Paint Shop Pro X9, mas pode ser feito em outras versões do PSP
Materiais Necessários:libellulegraphisme_femme_a_imper
w-maske03_¬sigrid
Maschera WMqGMOah9IWa1FHjMcCr8Ft61Lg@450x315
Sel1_Naya_Animabelle
Fond1_Naya_Animabelle
Texte_Naya
Plugins Utilizados:
I.C.NET Software / Filters Unlimited 2.0
MuRa's Seamless
Alien Skin Eye Candy 5 / Impact
AP [Lines]
Preparação:Abra o material no PSP quando necessário.
Duplique e feche os originais.
Não esqueça de salvar seu trabalho constatemente.
Copie a seleção para a pasta de seleções do PSP.
Sinta-se a vontade para mudar o blend mode ou as opacidades quando necessário!
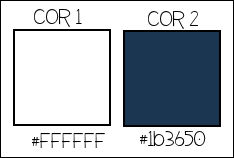
01- Primeiro Plano cor 1 (#ffffff) / Segundo Plano cor 2 (#1b3650)
02- Abra uma Nova imagem transparente de 900/500 Pixels
Selections / Select All
03- Ative a imagem <<Fond1_Naya_Animabelle>> Cole na seleção.
Selections / Select None
Adjust / Sharpness / Sharpen
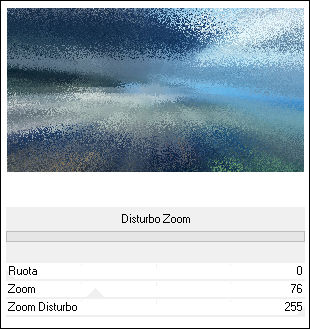
04- Effects / Plugins / <I.C.NET Software> Filters Unlimited 2.0 / Italian Editors Effect / Disturbo Zoom
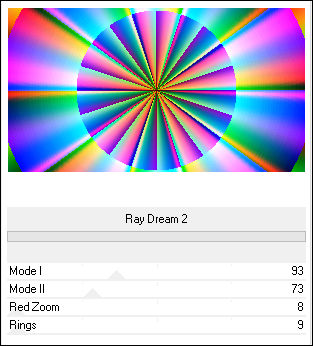
Layers / Duplicate05- Effects / Plugins /<I.C.NET Software> Filters Unlimited 2.0 / Filters Factory Gallery S / Ray Dreams 2
Blend Mode / Luminance (Legacy)
Opacidade / 32
Effects / Edge Effects / Enhance
06- Layers / New Raster Layer
Preencha com a cor do Primeiro Plano (#ffffff)
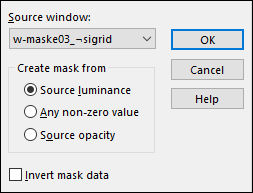
Layers / New Mask Layer / From Image:w-maske03_¬sigrid
Layers / Merge / Merge Group
Blend Mode / Overlay
Opacidade / 70
07- Layers / New Raster Layer
Preencha com a cor do Primeiro Plano (#ffffff)
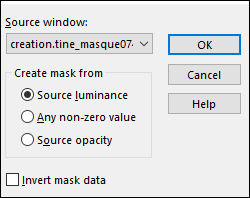
Layers / New Mask layer / From Image: creation.tine_masque074
Layers / Merge / Merge Group
Effects / Plugins / MuRa's Seamless / Emboss at Alpha
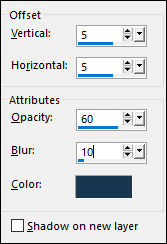
Effects / 3D Effects / Drop Shadow: 5 / 5 / 60 / 10 / Cor 2
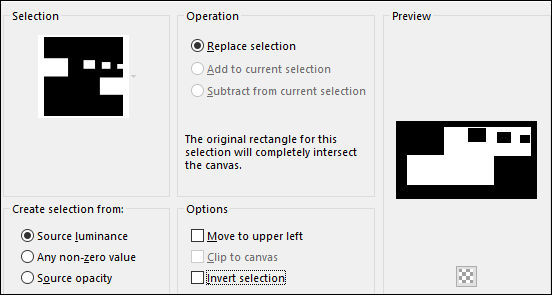
08- Selections / Load Save selection / Load selection from disk: <<Sel1_Naya_Animabelle>>
Layers / New Raster Layer
Ative a imagem <<Fond1_Naya_Animabelle>> Copíe e Cole como nova layer
Adjust / Sharpness / Sharpem More
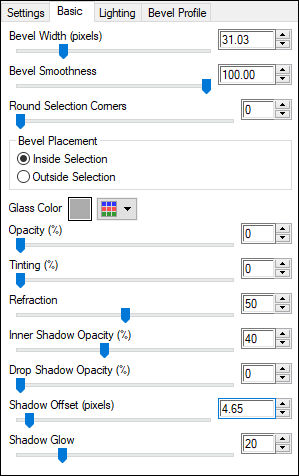
Effects / Plugins / Alien Skin Eye Candy 5 / Impact / Glass
Selections / Select None
Layers / Arrange / Move Down
09- Image /Add Borders / Symmetric Marcado / 1 Pixel cor 2
Image / Add Borders / Symmetric Marcado / 10 pixels cor 1
Image /Add Borders / Symmetric Marcado / 1 Pixel cor 2
Image / Add Borders / Symmetric Marcado / 20 pixels cor 1
Image /Add Borders / Symmetric Marcado / 1 Pixel cor 2
Selections / Select All
Image / Add Borders / Symmetric Marcado / 40 pixels cor 1
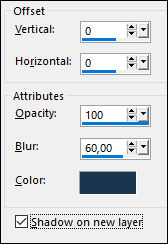
Effects / 3D Effects / Drop Shadow: 0 / 0 / 100 / 60 / Cor 2
Na layer da sombra
Layers / Arrange / Move Up
Selections / Select None
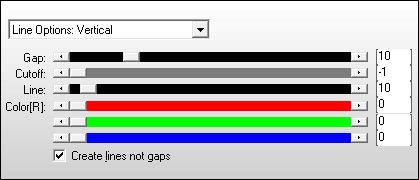
Effects / Plugins / AP [Lines] / Lines - SilverLining
10- Ative e Copie o tube <<libellulegraphisme_femme_a_imper>> Cole como nova layer
Remova a Marca d'água"
Adjust / One Step Photo FixImage / Resize / 8o%... Resize All Layers ... Desmarcado)
Arraste para baixo até a borda inferior
Aplique uma sombra de sua escolha
11- Image /Add Borders / Symmetric Marcado / 1 Pixel cor 2
Com a fonte de sua escolha escreva o nome <<Naya>> ou outro ...
Lui faire une légère ombre portée
(Eu usei a fonte disponibilizada no tutorial)
12- Layers / New Raster LayerColoque a sua marca d'água
Ou a sua assinatura
13- Layers / Merge / Merge All
Exporte como JPG Otimizado!
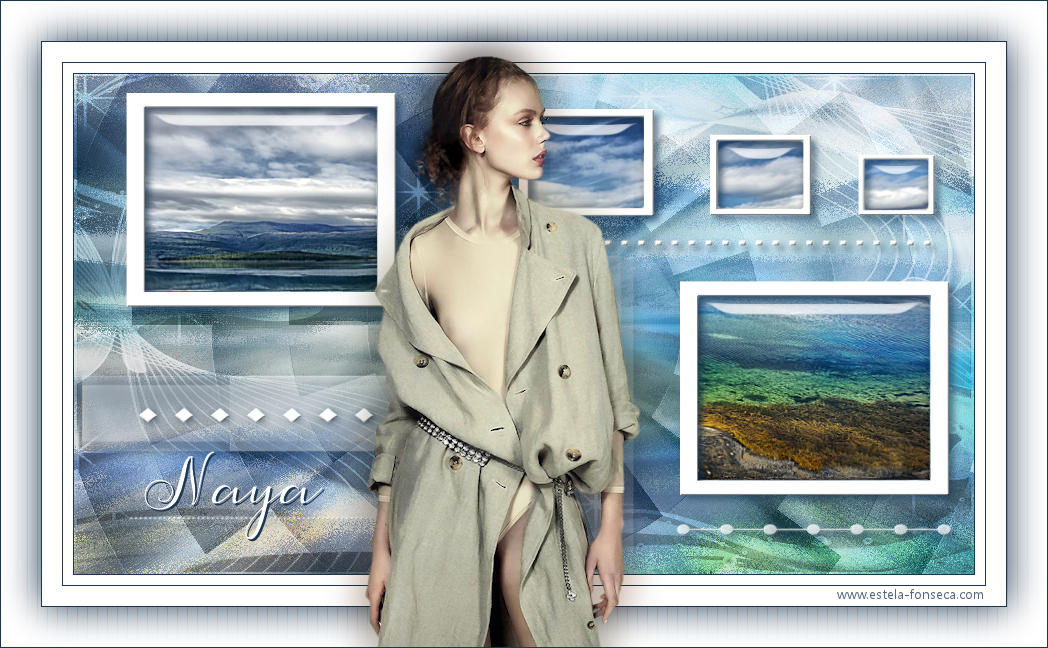
Versão com tube de Ana Ridzi:
©Tutorial traduzido por Estela Fonseca em 05/11/2019.
Não alterar nem repassar sem autorização.


