GABRY
Este Tutorial é de ©Animabelle.
Tutorial realizado no Corel Paint Shop Pro X9, mas pode ser feito em outras versões do PSP
Materiais Necessários:
Misted1_Gabry_Animabelle
Deco1_Gabry_Animabelle,Deco2_Gabry_Animabelle
GHDE060701
Narah_Mask_1450
Sel1_Gabry_Animabelle
Plugins Utilizados:
Mehdi
Bordermania
Graphics Plus
Alien Skin Eye Candy 5: Impact
Preparação:Abra os tubes no PSP, duplique e feche os originais, trabalharemos com as cópias!
abra a Mask no PSP e Minimize-z.
Copie as seleções para a pasta de seleções do PSP.
Sinta-se a vontade para mudar o blend mode ou as opacidades quando necessário!
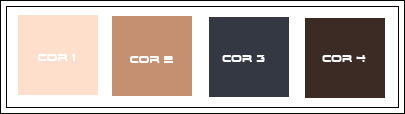
Tabela de Cores:
01- Abra uma nova imagem transparente de 800 /450 Pixels
Primeiro Plano cor 2 / Segundo Plano cor 1
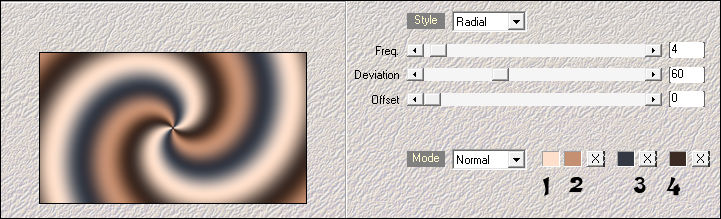
Effects / Plugins / Mehdi / Wavy Lab 1.1
Adjust / Blur / Gaussian Blur / Radius 30
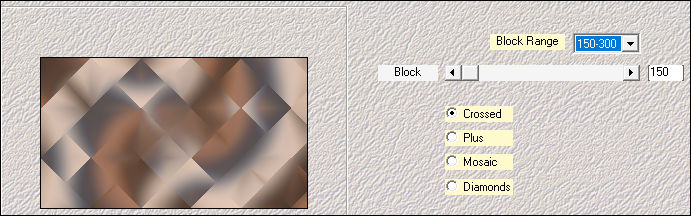
02- Effects / Plugins / Mehdi / Sorting Tiles
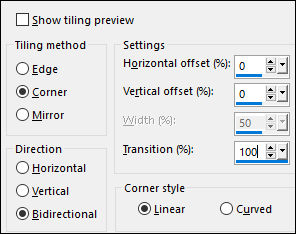
Effects / Image Effects / Seamless Tiling:
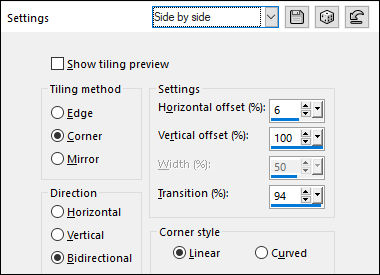
Effects / Image Effects / Seamless Tiling: Side by Side
03- Layers / New Raster Layer
Preencha com a cor do Segundo Plano (cor 1)
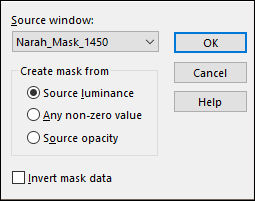
Layers / New Mask Layer / From Image: "Narah_Mask_1450"
Layers / Merge / Merge Group
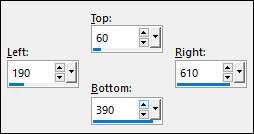
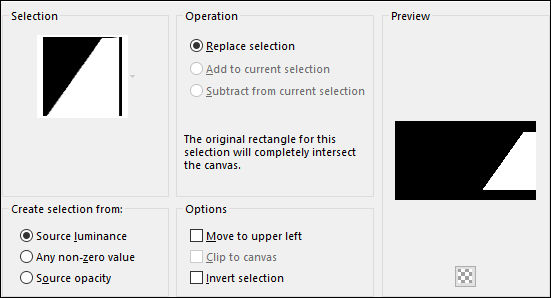
04- Selections Tool (S) / Custom Selection:
Delete no Teclado
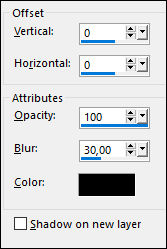
Effects / 3D Effects / Drop Shadow: Cor #000000
Selections / Select None
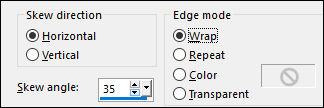
05- Effects / Geometric Effects / Skew
Effects / Image Effects / Seamless Tiling
Blend Mode / Overlay
Opacidade / 80%
06- Ative a Layer do Topo
Ative o tube <<Misted1_Gabry_Animabelle>> Copie e Cole como nova layer
Adjust / Sharpness / Sharpen
07- Na Layer do topo
Ative o tube <<GHDE060701>> e ative a Layer <<Copper >>
Copie e cole como nova layer no seu trabalho.
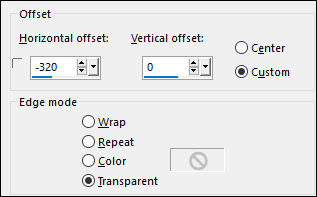
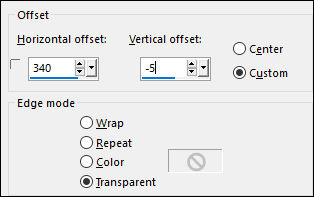
Effects / Image Effects / Offset
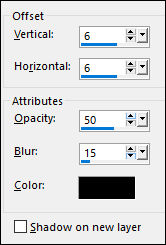
Effects / 3D Effects / Drop Shadow: Cor #000000
08- Ative a Layer do fundo
Selections / Load save selection / Load selection from disk: "Sel1_Gabry_Animabelle"
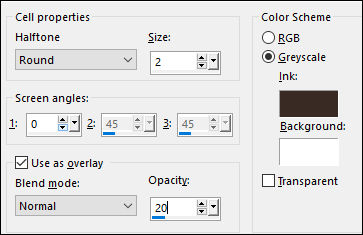
Selections / Promote selection to layerEffects / Artistic Effects / Halftone: Cor 3 e cor branca
Adjust / Sharpness / Sharpen
Selections / Select None
09- Ative a Layer do topo
Ative o tube "Deco1_Gabry_Animabelle" Copie e Cole como nova layer
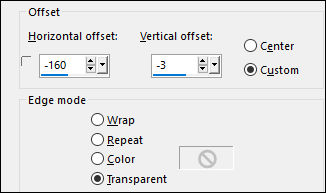
Effects / Image Effects / Offset
Blend Mode / Luminance (Legacy)10- Ative o tube "Deco2_Gabry_Animabelle" Copie e Cole como nova layer
Effects / Image Effects / Offset
Blend Mode / Luminance (Legacy)
Layers / Merge / Merge All
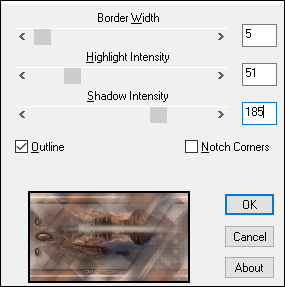
Effects / Plugins / Bordermania / Instant Button #2
11- Selections / Select All
Image / Add Borders / Symmetric Marcado / 10 pixels Cor 2
Selections / Invert
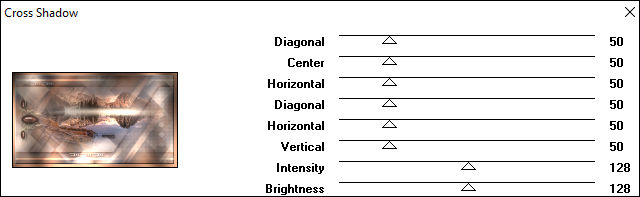
Effects / Plugins / Graphics Plus / Cross Shadow (Default)
Effects / Artistic Effects / Halftone (mesmas configurações de antes)
Adjust / Sharpness / Sharpen
Selections / Select None
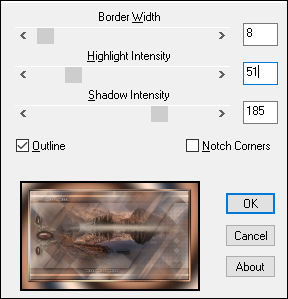
12- Effects / Plugins / Bordermania / Instant Button #2 (mesmas configurações de antes)
Selections / Select All
Image / Add Borders / Symmetric Marcado / 35 pixels Cor 2
Selections / Invert
Effects / Plugins / Mehdi / Wavy Lab 1.1 (Como antes)
Selections / Select None
Effects / Plugins / Bordermania / Instant Button #2 (mesmas configurações de antes)
13- Abra o tube <<Gabry-woman 417 (1)>> Ative a Layer <<Uniti>>
Copie e Cole como nova layer
Image / Resize / 70%... Resize All Layers ... Desmarcado
Adjust / Sharpness / Sharpen
Effects / Plugins / Alien Skin Eye Candy 5 / Impact / Perspective Shadow / Drop Shadow, Blurry
14- Ative novamente o tube <<Gabry-woman 417 (1)>> Ative a Layer <<dog>>
Copie e Cole como nova layer
Posicione como no modelo
Effects / Plugins / Alien Skin Eye Candy 5 / Impact / Perspective Shadow / Drop Shadow, Blurry
15- Layers / New Raster Layer
Coloque a sua marca d'água (assinatura)
Layers / Merge / Merge All
Exporte como JPG Otimizado!
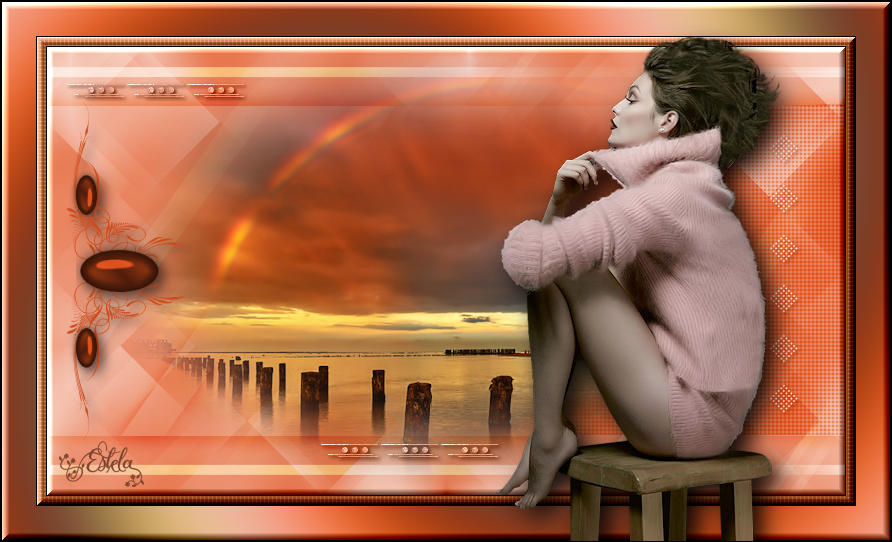
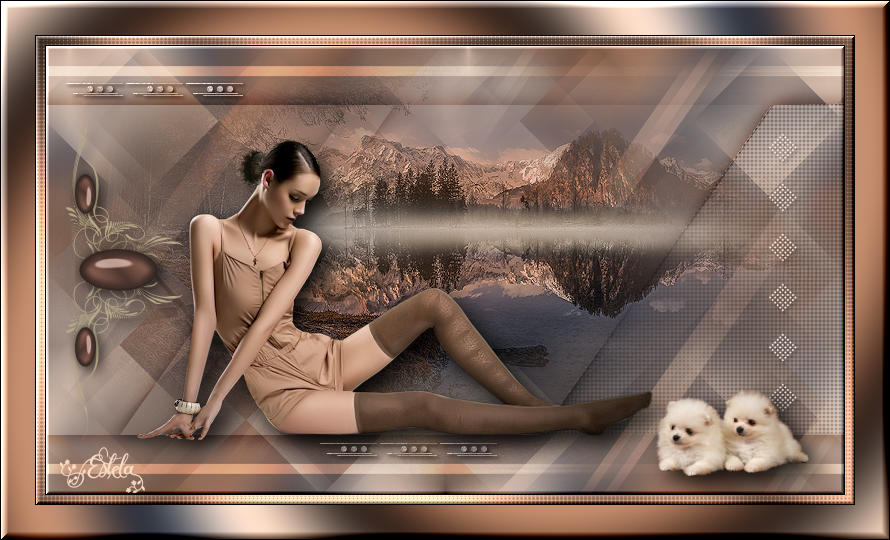
Versão com tube de Mentali (paisagem) e de Gabry (Personagem):
©Tutorial traduzido por Estela Fonseca em 15/11/2019.
Não alterar nem repassar sem autorização.