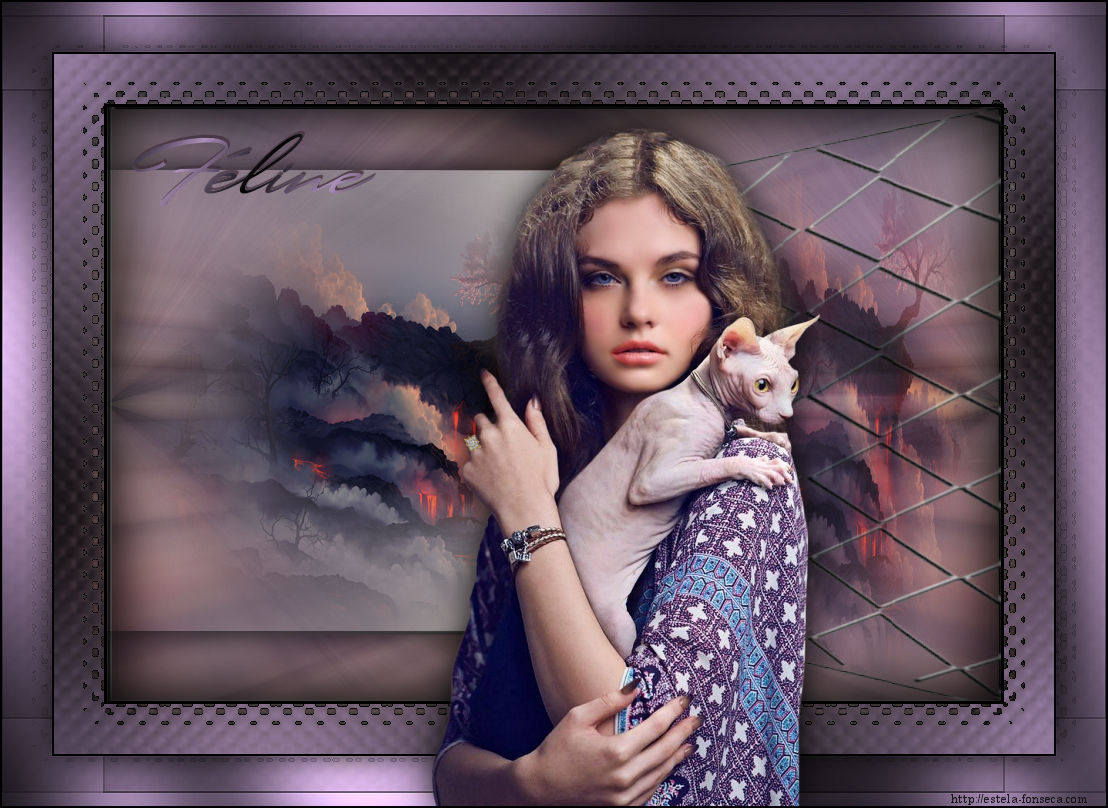
FELINE
Este Tutorial é de ©Animabelle.
Tutorial realizado no Corel Paint Shop Pro X9, mas pode ser feito em outras versões do PSP
Materiais Necessários:Tube de Mina@.Lady.with.cat.01.16
Misted_Feline_Animabelle
Mask << 16MaskkelsWWA>>
Sel1_Feline_Animabelle
Versão 2 tube de Nikita
Plugins Utilizados:Alien Skin Eye Candy 5: Impact
Déformation
Filter Factory Gallery J
Tramages
Preparação:
Coloque a seleção na pasta de seleções do PSP.
Abra o tube no PSP, Duplique e feche o original.
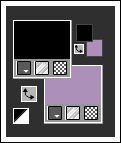
1- Primeiro Plano cor #000000 / Segundo Plano cor #ac90ba
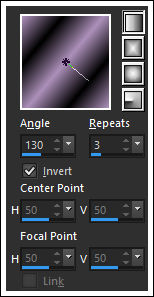
Gradiente <<Linear>> Configurado como segue:
2- Abra uma nova imagem transparente de 900/600Pixels
Preencha com o Gradiente
Adjust / Blur / Gaussian Blur / Radius 50
3- Layers / New Raster Layer
Selections / Select All
Ative e Copie <<Mina@.Lady.with.cat.01.16>> Cole na seleção
Selections / Select None
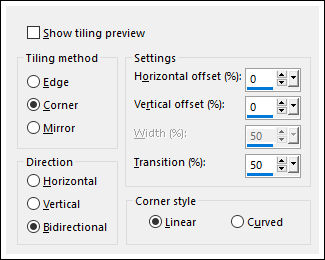
4- Effects / Image Effects / Seamless Tiling / Default
Adjust / Blur / Radial Blur
Layers / Duplicate
Image / Mirror / Mirror Horizontal
Opacidade / 50%
Layers / Merge / Merge Down
Effects / Edge Effects / Enhance
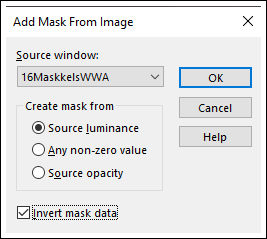
5- Layers / New Mask Layer / From image: <<16MaskkelsWWA>>
Layers / Merge / Merge Group
Effects / 3D Effects / Drop Shadow: Cor #000000
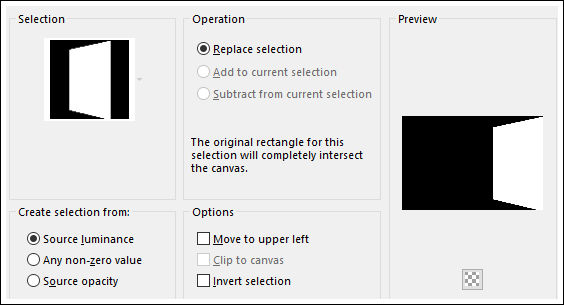
6- Selection Tool (S) / Custom Selection
Layers / New Raster Layer
Ative e Copie o tube <<Misted_Feline_Animabelle>> Cole na seleção
Adjust / Sharpness / Sharpen
Mantenha a Seleção!
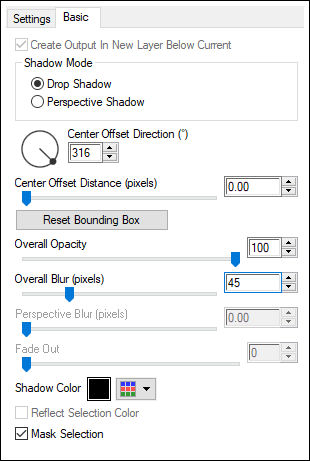
Effects / Plugins / Alien Skin Eye Candy 5 / Impact / Perspective Shadow
Selections / Select None
7- Ative a layer do Topo
Layers / New Raster Layer
Selections / Load save selection / Load selection from disk: Sel1_Feline_Animabelle
Cole na seleção (o tube misted ainda está na memória)
Adjust / Sharpeness / Sharpen
Blend Mode / OverlayOpacidade / 70%
Selections / Select None
Layers / Merge / Merge All8- Layers / New Raster Layer
Selections / Select All
Preencha com a cor do Primeiro Plano (#000000)
Selections / Modify / Contract / 3 Pixels
Delete no Teclado
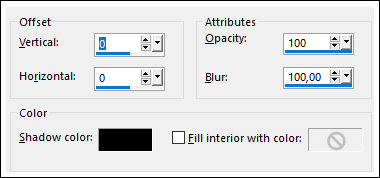
Effects / 3D Effects / Cutout
Layers / Duplicate
Opacidade / 50%
9- Selections / Select AllImage / Add Borders / Symmetric Marcado / 40 Pixels cor do Segundo Plano
Selections / Invert
Preencha com o gradiente do começo
Adjust / Blur / Gaussian Blur / Radius 30
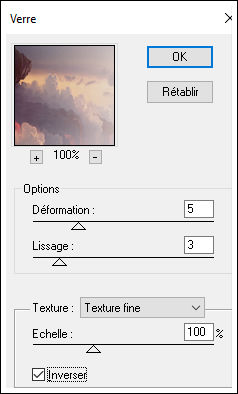
Effects / Plugins / Déformation / Verre
Selections / Select None
10- Image / Add Borders / Symmetric Marcado / 2 Pixels cor do Primeiro Plano (#000000)
Selections / Select All
Image / Add Borders / Symmetric Marcado / 50 Pixels cor do Segundo Plano
Selections / Invert
Effects / Plugins / Filter Factory Gallery J / Drink To Me...
Effects / Plugins / Tramages / Pool Shadow / Default
Repita Novamente :Effects / Plugins / Tramages / Pool Shadow
Adjust / Sharpness / Sharpen
Selections / Invert
Effects / Plugins / Alien Skin Eye Candy 5 / Impact / Perspective Shadow (como antes)
Selections / Select None
11- Ative e Copie o tube <<Mina@.Lady.with.cat.01.16>> Copie e Cole como nova layer
Image / Resize / 77%... Resize All Layers ... Desmarcado
Adjust / Sharpness / Sharpen
Posicione como no modelo
Effects / Plugins / Alien Skin Eye Candy 5 / Impact / Perspective Shadow (como antes)
12- Ative a Ferramenta de Texto, escolha uma fonte e escreva <<Féline>>
Nota (coloquei o gradiente no Segundo Plano e anulei a cor do Primeiro Plano)
Posicione como preferir.
Aplique uma sombra de sua escolha
13- Assine seu trabalho
Image / Add Borders / Symmetric Marcado / 2 Pixels cor #000000
Image / Resize / 900 Pixels de Largura / Resize All Layers Marcado
Exporte como JPG Otimizado!
Versão com tube de Nikita:
©Tutorial traduzido por Estela Fonseca em 03/03/2020.
Não alterar nem repassar sem autorização.


