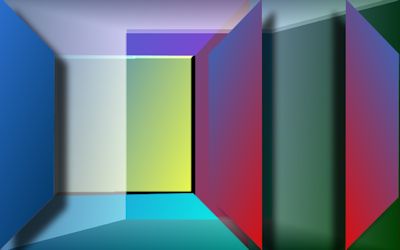
HELLO
Tutorial de ©Alicia.Original Aqui.
Criado na versão X4 mas pode ser realizado em versões anteriores.
Materiais Necessários:
Tube Jen_vrouw 320Paleta de Colores Hello_aliciar
Seleções hello1 a hello 10_aliciar (Guarde na pasta de Seleções de My PSP Files)
Marca d'água tutorialespspaliciar
Sem Plugins
TUTORIAL
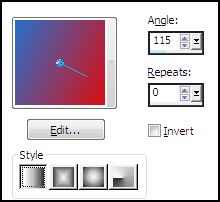
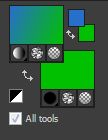
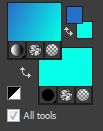
1. Abra uma nova imagem transparente de 800 x 500 Px.2. Coloque no foreground a cor 1 e no background a cor 2 da paleta de cores fornecida
Forme um gradiente Linear, angle 115, repeata 0.
Preencha a imagem
3. Layers, New raster layer.
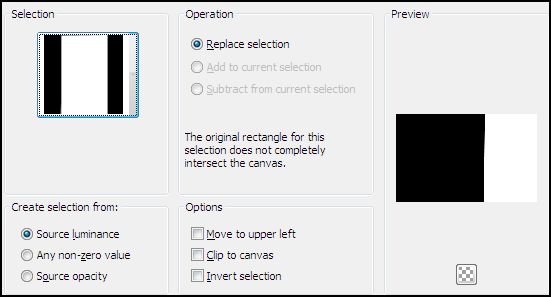
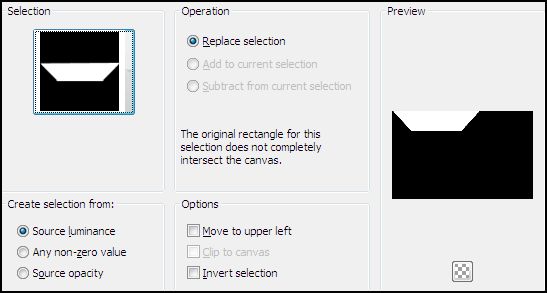
Selections/Load/Save Selection/Load Selection from Disk/Load hello1_aliciar.
Mude a cor do background para a cor 3 da paleta de cores fornecida.
Preencha a seleção com o gradiente formado pela cor do foreground e a cor do background.
Selections , Select None
4. Layers, new raster layer.
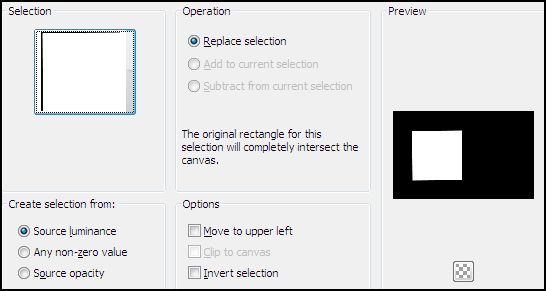
Selections/Load/Save Selection/Load Selection from Disk/Load hello2_aliciar.
Mude a cor do background pela cor 4 da paleta de cores fornecida no tutorial.
Preencha a seleção com o gradiente formado com a cor do foreground e a cor do background.
Selections. Select None
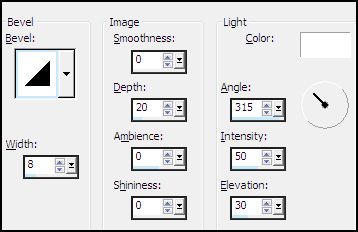
5. Effects/3D Effects/Inner Bevel:
6. Layers, New raster layer.
Selections/Load/Save Selection/Load Selection from Disk/Load hello3_aliciar.
Mude a cor do background pela cor 5 da paleta de cores fornecida no material.
Preencha a seleção com o gradiente formado pelas cores do foreground e background.
Selections / Select None
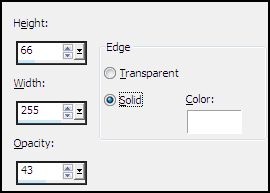
7. Effects/3D Effects/Buttonize:
8. Layers, new raster layer.
Selections/Load/Save Selection/Load Selection from Disk/Load hello4_aliciar.
Mude a cor do background para a cor 06 da paleta de cores fornecida.
Preencha a seleção com o gradiente formado pelas cores do foreground e background.
Selections, Select None.
9. Repita o efeito Buttonize.
10. Layers, new raster layer.
Selections/Load/Save Selection/Load Selection from Disk/Load hello5_aliciar.
Mude a cor do background pela cor 7.
Preencha a seleção com o gradiente formado pelas cores de foreground e background.
Selections, Select None.
11. Effects/3D Effects/Drop Shadow: 23 / 26 / 70 / 19,00 / #000000
12. Layers, New raster layer.
Selections/Load/Save Selection/Load Selection from Disk/Load hello6_aliciar.
Mude a cor do background pela cor 8.
Preencha a seleção com o gradiente formado pelo foreground e pelo background.
Selections. Select None.
13. Repita o Drop Shadow.
14. Layers, Duplicate
Image, Mirror
Mova para a Direita
15. Layers, new raster layer.
Selections/Load/Save Selection/Load Selection from Disk/Load hello7_aliciar.
Mude a cor do foreground pela cor 9.
Preencha a seleção com a cor sólida.
Selçections. Select None.
Mude o blend Mode da layer para Luminance.
16. Layers, Duplicate.
Image/Free Rotate
17. Layers, new raster layer.
Selections/Load/Save Selection/Load Selection from Disk/Load hello8_aliciar.
Preencha a seleção com a cor 10.
Selections, Select None.
Opacidade 44%.
18. Layers, new raster layer.
Selections/Load/Save Selection/Load Selection from Disk/Load hello9_aliciar.
Preencha a seleção com a cor 10.
Selections, select None.
Opacidade 16%.
19. Layers, new raster layer.
Selections/Load/Save Selection/Load Selection from Disk/Load hello10_aliciar.
Preencha a seleção com a cor #ffffff.
Selections, select None.
20. Copie o tube Jen_vrouw 320. Cole como nova layer.
Image, Resize, 75%. (Resize all layers, desmarcado)
21. Image , add borders , symmetric , cor #ffffff de 30Px.
22. Assine seu trabalho, coloque a marca d'água tutorialespspaliciar, merge all e exporte como jpg
VOLTAR©Tutorial de Alicia, traduzido por Estela Fonseca em 17/09/2011.
Não alterar nem repassar sem autorização.


