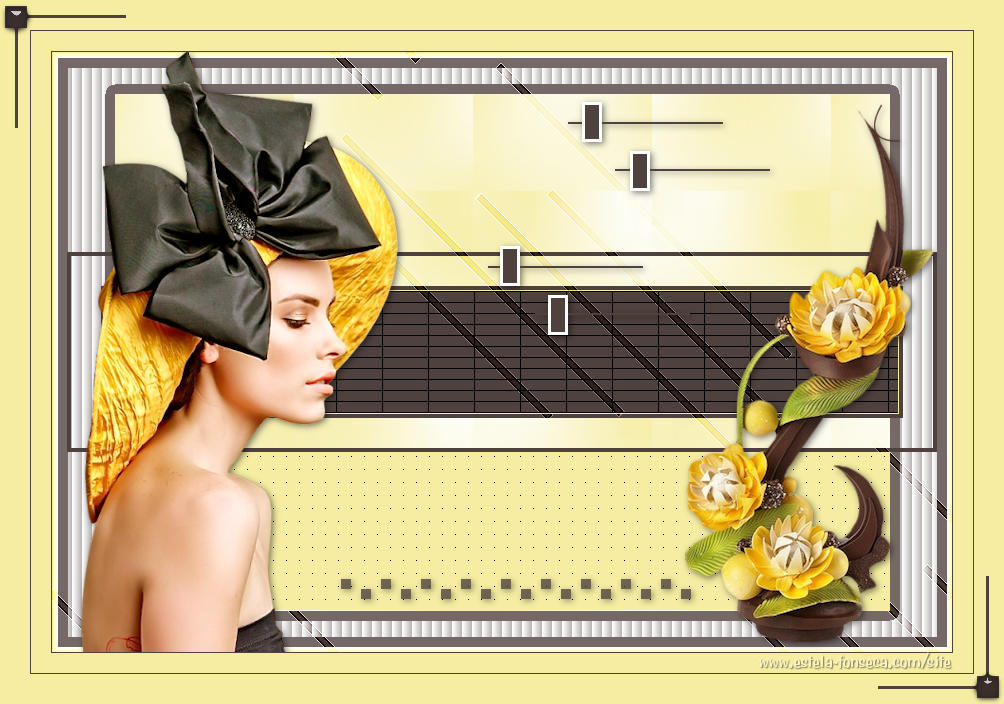
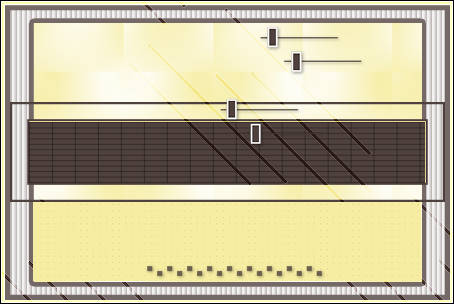
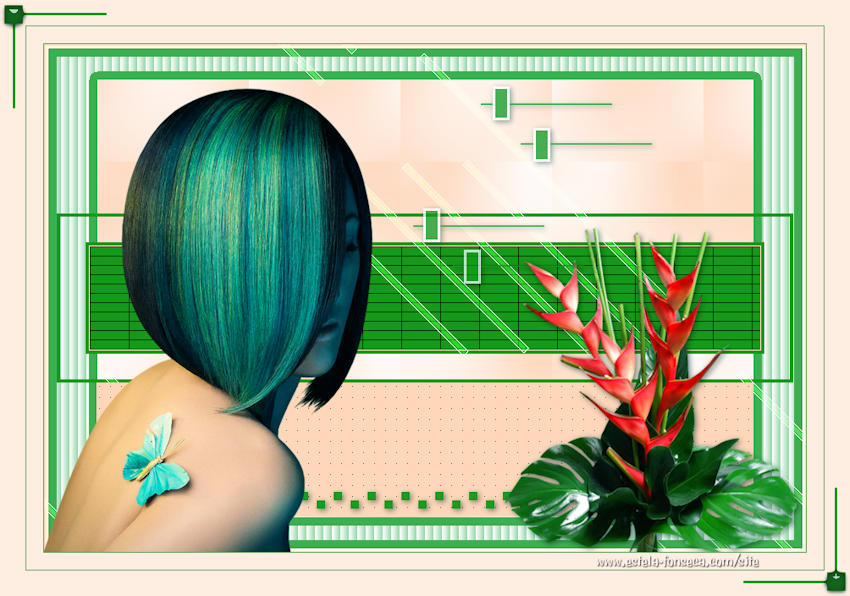
VASANTA
Tutorial de ©Alenza, original, AQUI.
Tutorial traduzido no PSP X8, mas pode ser feito com outras versões.
Material Necessário:
Tube de Maryse, seu site AQUI
Tube Floral de Isa, seu blog AQUI
Plugins Utilizados:Filter Factory Gallery F / Border Fade 2 (Unlimited)
Toadies / Weaver e Plain Mosaic Blur (Unlimited)
Mura's Meister, Copies
Alien Skin Eye Candy 5 / Impact / Glass
Preparação:Abra os tubes no PSP, duplique e feche os originais. Minimize.
Copie as Seleções para a pasta de Seleções do PSP.
Abra o Brush (File / Export / Custom Brush)
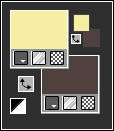
1) Abra uma Nova Imagem transparente de 900/600 pixels2) Primeiro Plano Cor #f6eda2 / Segundo Plano Cor #4f413e
3) Preencha a Layer transparente com a cor do Primeiro Plano
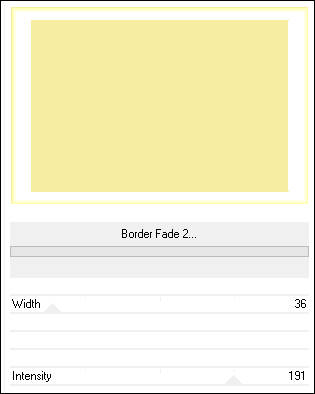
Effects / Plugin / <I.C.NET Software> Filters Unlimited 2 /Filter Factory Gallery F / Border Fade 2/ Default
4) Ative a "Varinha Mágica"
Selecione a Borda Branca
Layers / New Raster Layer
Preencha com a cor do Segundo Plano
Selections / Modify / Contract 10 pixels
Edit / Clear (ou delete no teclado)
5) Mantenha a Seleção!!!!!
Ative a Layer <<Raster 1>>
Selections / Promote Selection to layer
Effects / Texture Effects / Blinds
6) Selections / Select None
Opacidade / 38.
7) Ative a Layer <<Raster 2>>Opacidade / 79%
Ferramenta "Varinha Mágica"
Selecione o interior da Layer
Layers / New Raster Layer
Segundo Plano cor branca (#ffffff)
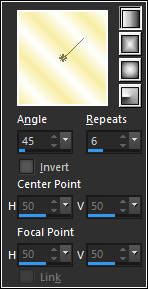
Gradiente estilo <<Linear>>
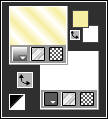
Preencha a Seleção com o Gradiente
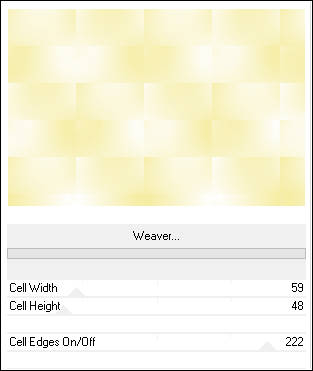
8) Effects / Plugin /<I.C.NET Software>/Filters Unlimited 2 / Toadies / Weaver / Default
Selections / Select None
9) Layers / New Raster Layer
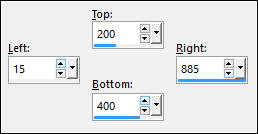
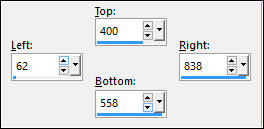
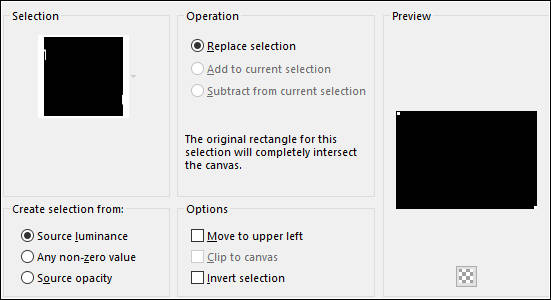
Selection Tool (S) / Rectangle / Custom Selection
10) Segundo Plano cor #4f413e
Preencha a Seleção com a cor do Segundo Plano
Selections / Modify / Contract 4 pixels
Edit / Clear (ou Delete no teclado)
Selections / Modify / Contract 30 pixels
Preencha com a cor do Segundo Plano
Selections / Modify / Contract 4 pixels
Edit / Clear (ou delete no teclado)
11) Preencha com a cor do Primeiro Plano
Selections / Modify / Contract 1 pixel
Preencha com a cor do Segundo Plano
12) Effects / Plugin / <I.C.NET Software> Filters Unlimited 2 / Toadies / Plain Mosaic Blur / Default
Selections / Select None
13) Layers / New Raster Layer
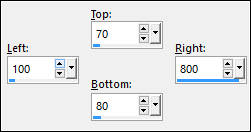
Selection Tool (S) / Rectangle / Custom Selection
14) Preencha a Seleção com a cor do Segundo Plano
Selections / Select None
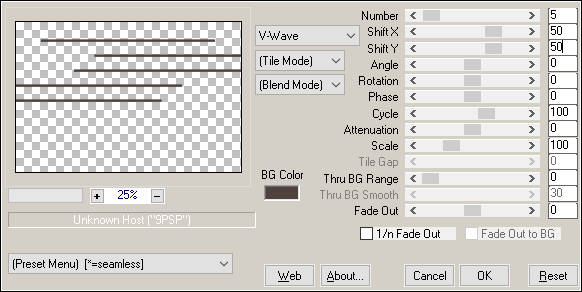
Effects / Plugin / Mura's Meister / Copies
15) Effects / Plugin / Simple / Diamonds
Blend Mode / Overlay
Effects / Edge Effects / Enhance
Effects / Edge Effects / Enhance More
16) Layers / New Raster Layer
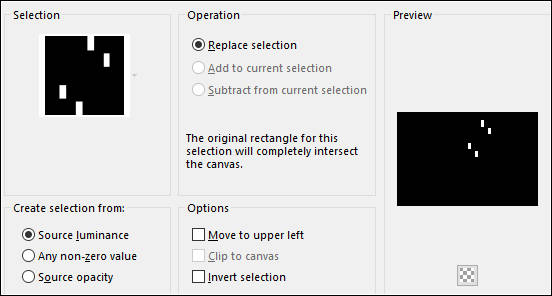
Selections / Load save selection / Load selection from disk: alenza_select379
Primeiro Plano cor branca #ffffff
Preencha a seleção com a cor branca
Selections / Modify / Contract 3 pixels
Preencha com a cor do Segundo Plano
Selections / Select None
17) Layers / New Raster Layer
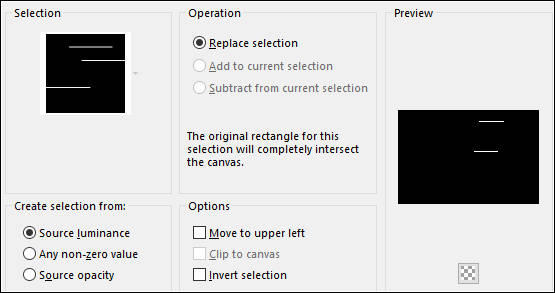
Selections / Load save selection / Load selection from disk:alenza_select380
Preencha a Seleção com a cor do Segundo Plano
Selections / Select None
Layers / Arrange / Move Down
Ative a layer do topo
Layers / Merge / Merge Down
Effects / 3D Effects / Drop Shadow: 2 / 2 / 50 / 10, 00 / #000000
Opacidade / 75%
18) Layers / New Raster Layer
Selection Tool (S) / Rectangle / Custom Selection
19) Primeiro Plano cor #f6eda2
Preencha a Seleção com a cor do Primeiro Plano #f6eda2
Effects / Texture Effects / Weaver
Selections / Select None
20) Layers / New Raster Layer
Ative <<Paint Brush (B) >>
Selecione o Brush <<alenza_divers30>>
Aplique com a cor do Segundo Plano na parte inferior central da Tag
Effects / 3D Effects / Drop Shadow: 2 / 2 / 50 / 10,00 / #000000
21) Maximize o tube <<MR_Yellow Hat>>
Image / Resize / 95 % (resize all layers Marcado)
Copie e Cole como nova layer
Effects / 3D Effects / Drop Shadow: 2 / 2 / 50 / 10,00 / #000000
Posicione à esquerda
22) Naximize o tube <<DEC0004>>
Image / Resize / 80 % (Resize all layers Marcado)
Copie e Cole como nova layer
Effects / 3D Effects / Drop Shadow: 2 / 2 / 50 / 10,00 / #000000
Posicione à Direita
23) Image / Add Borders / Symmetric Marcado / 1 pixel cor do Segundo Plano
Image / Add Borders / Symmetric Marcado / 20 pixels cor do Primeiro Plano (amarela)
Image / Add Borders / Symmetric Marcado / 1 pixel cor branca
Image / Add Borders / Symmetric Marcado / 20 pixels cor do Primeiro Plano (amarela)
24) Layers / New Raster Layer
Selections / Load save selection / Load selection from disk: alenza_select382
Preencha a seleção com a cor do Segundo Plano
Selections / Select None
Layers / Duplicate
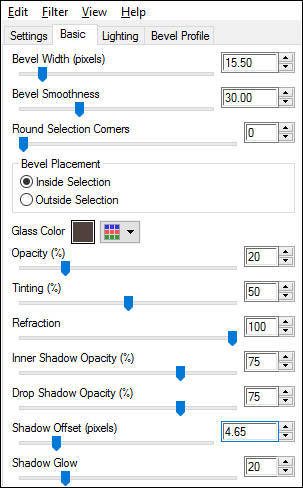
Effects / Plugin / Alien Skin Eye Candy 5 / Impact / Glass
25) Assine seu Trabalho
Layers / Merge / Merge all (Flatten)
Salve como jpeg.
Versão com tube de SvB (Floral) e Dragonfly (personagem:
©Tutorial Traduzido por Estela Fonseca 05/04/2017.
Obrigada Alenza por me permitir traduzir seu trabalho.
