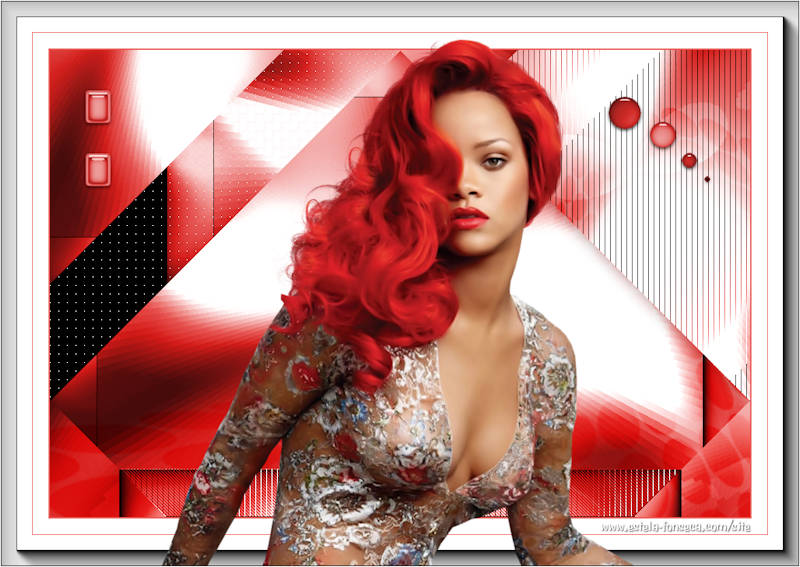
OMBELINE
Tutorial de ©Alenza, original, AQUI.
Tutorial traduzido no PSP X8, mas pode ser feito com outras versões.
Material Necessário:
Tube de Mina
Plugins Utilizados:Tramages, Pool Shadow
Two Moon, Grinder
AAA Frames, Foto Frame
Penta.com, Jeans
Alien Skin Eye Candy 5, Impact, Glass
Preparação:
Abra o tube, duplique e feche o original.
1) Abra a imagem << alenza_alpha_ombeline>>Duplique e feche a original.
2) Primeiro Plano cor#9bb9db / Segundo Plano Cor #4345523) Forme um Gradiente estilo <<Linear>>
Preencha a layer transparente
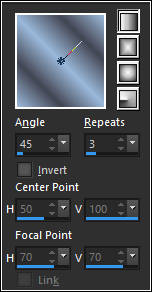
4) Adjust / Blur / Radial Blur:
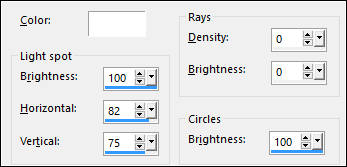
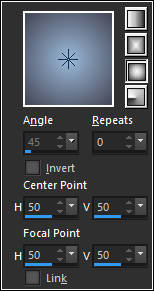
5) Effects / Illumination Effects / Sunburst
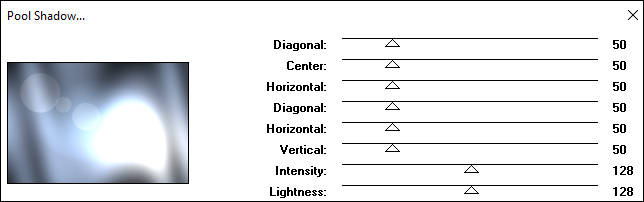
6) Effects / Plugin / Tramages / Pool Shadow:
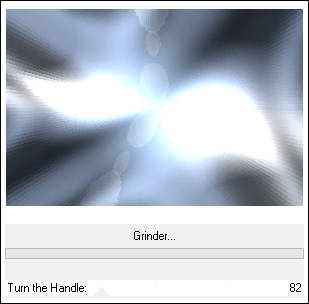
7) Effects / Plugin / Two Moon / Grinder.
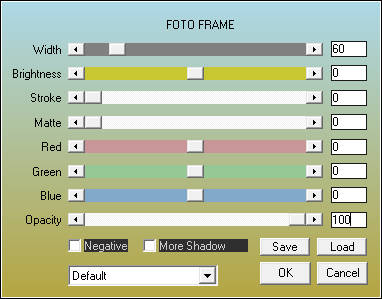
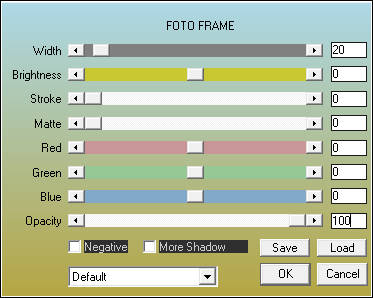
8) Effects / Plugin / AAA Frames / Foto Frame.
9) Effects / Plugin / Simple / Blintz.
Repita esse plugin mais uma vez
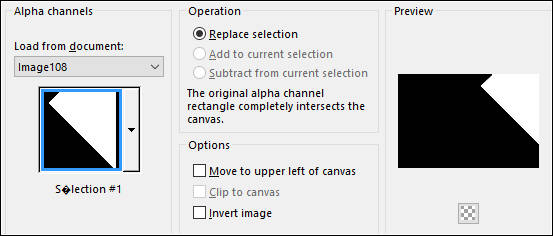
10) Selections / Load save selection / Load selection from Alpha Chanel: Seleção #1
Selections / Promote Selection to Layer.
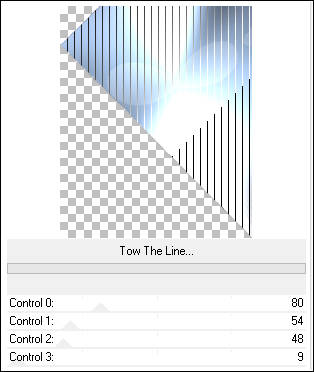
11) Effects / Plugin / Tramages / Tow The Line.
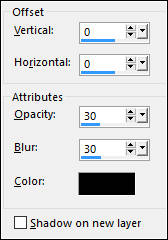
12) Effects / 3D Effects / Drop Shadow: #000000
Selections / Select None
13) Ative a Layer do fundo
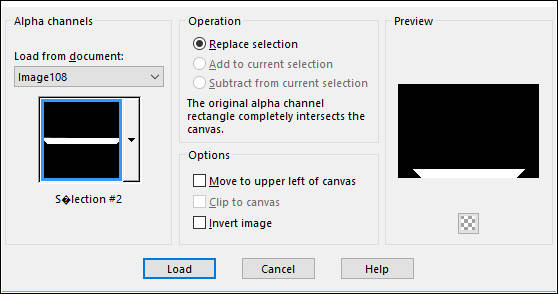
Selections / Load save selection / Load selection from Alpha Chanel: Seleção #2.
Selections / Promote Selection to layer
Effects / Plugin / Tramages / Pool Shadow:
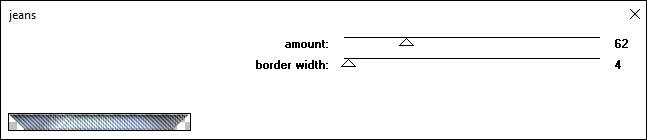
14) Effects / Plugin / Penta.com / Jeans.
Selections / Select None
15) Ative a Layer do Fundo
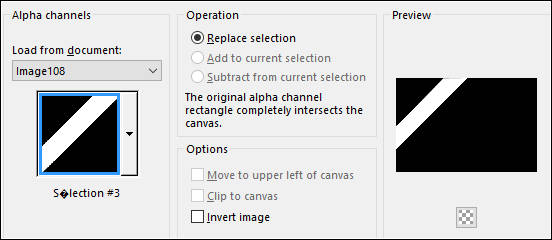
Selections / Load save selection / Load selection from Alpha Chanel: Seleção #3
Selections / Promote Selection to Layer
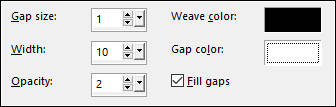
Effects / Texture Effects / Weaver
Selections / Select None
16) Abra a Mask <<alenza_masque33>>
Minimize
Ative a layer do topo
Layers / New Raster Layer
Preencha com a cor do Segundo Plano.
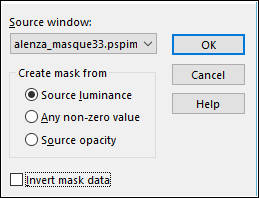
Layers / New Mask layer / From Image:
17) Layers / Merge / Merge Group
Blend Mode / Overlay
18) Layers / New Raster layer
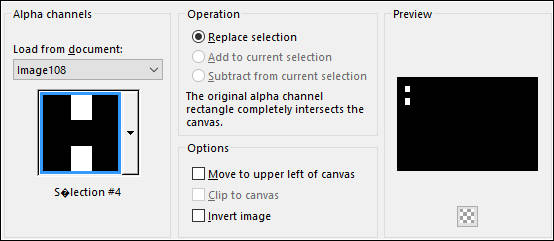
Selections / Load save selection / Load selection from Alpha Chanel: Seleção #4
Preencha a seleção com a cor #ffffff
Selections / Modify / Contract / 4 pixels
Preencha com a cor do Primeiro Plano
Mantenha a Seleção!!!
Effects / Plugin / Alien Skin Eye Candy 5 / Impact / Glass / Clear
19) Selections / Select None
Effects / Plugin / Alien Skin Eye Candy 5 / Impact / Glass / Clear
20) Layers / New Raster layer
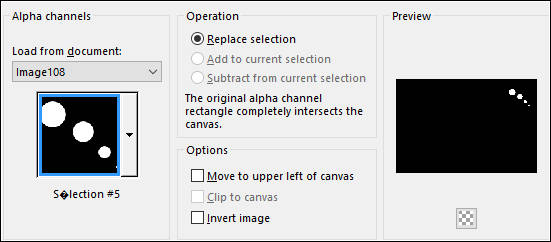
Selections / Load save selection / Load selection from Alpha Chanel: Seleção #5
Primeiro Plano cor#9bb9db / Segundo Plano Cor #434552
Forme um Gradiente estilo <<Sunburst>>
Preencha a seleção com o gradiente
21) Effects / Plugin / Alien Skin Eye Candy 5 / Impact / Glass / Clear
Selections / Select None
22) Image / Add Borders / Symmetric Marcado / 2 pixels cor #d69fb7
Image / Add Borders / Symmetric Marcado / 20 pixels cor #ebd9db
Image / Add Borders / Symmetric Marcado / 1 pixel cor #8e0c13
Image / Add Borders / Symmetric Marcado / 40 pixels cor #ebd9db
23) Effects / Plugin / AAA Frames / Foto Frame
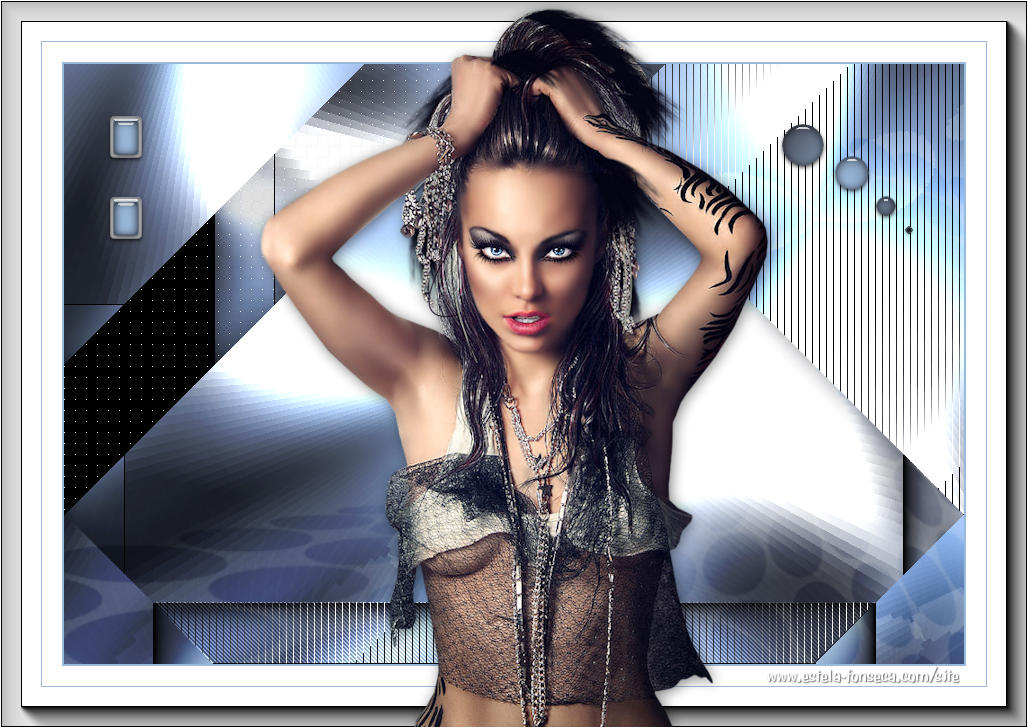
24) Abra o tube <<Mina@-Pinuccia.09>>Image / Resize / 90% (Resize all layers marcado)
Copie e Cole como nova layer
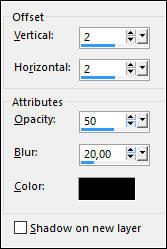
Effects / 3D Effects / Drop Shadow: 2, 2, 50, 20, #000000
Image / Add Borders / Symmetric Marcado / 1 pixel cor #d69fb7
Salve como jpeg.
Versão com tube de Gerry:
©Tutorial Traduzido por Estela Fonseca 02/03/2017.
Obrigada Alenza por me permitir traduzir seu trabalho.