MAUd
Tutorial de ©Alenza, original, AQUI.
Tutorial traduzido no PSP X9, mas pode ser feito com outras versões.
Material Necessário:
Tube de K@rine Dreams
Tube de Maryse
Mask de Linda
Plugins Utilizados:
[AFS Import] Polperv
Filter Factory Gallery H / Alias Blur
Toadies / What are you ?
Two Moon / Venitian builder
Alien Skin Eye Candy 5 / Impact / Glass
AAA Frames / Foto Frame
Preparação:Abra os tube no PSP, duplique e feche os originais.
Coloque as seleções na pasta de seleções do PSP
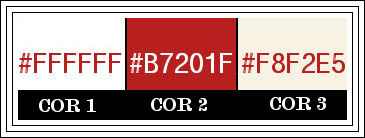
Tabela de Cores:
1) Abra uma nova imagem transparente de 900/600 pixels2) Primeiro Plano cor #ffffff (cor 1) e Segundo Plano cor #b7201f (cor 2)
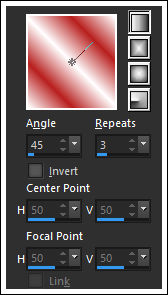
63) Gradiente estilo <<Linear>> Configurado como segue:
Preencha a layer com o gradiente
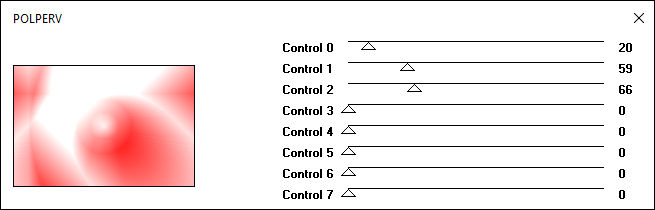
4) Effects / Plugins / AFS Import] / Polperv.
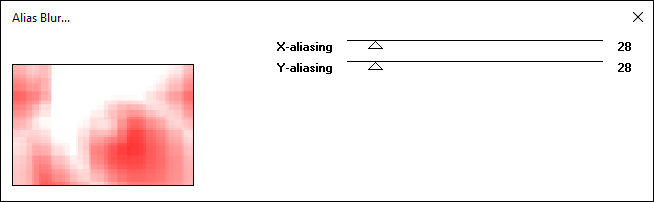
5) Effects / Plugins / Filter Factory Gallery H / Alias Blur.
6) Layers / New Raster Layer
Selections / Load save selection / Load selection from disk: alenza_select359
Preencha com a cor #f8f2e5 ( cor 3)
Selections / Select None
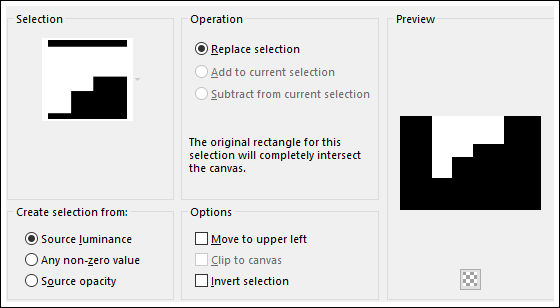
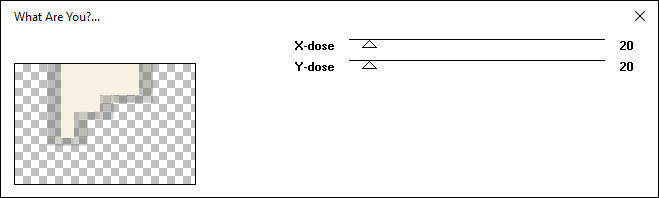
7) Effects / Plugins / Toadies / What are you ?
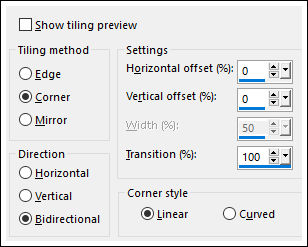
8) Effects / Image Effects / Seamless Tiling
9) Effects / Texture Effects / Blinds
10) Layers / New Raster Layer
Selections / Select All
Selections / Modify / Contrace 40 pixels
Preencha com a cor do Segundo Plano (cor 2)
Selections / Modify / Contract 1 pixel
Delete no teclado
Selections / Modify / Contract 40 pixels
Preencha com a cor do Segundo Plano (cor 2)
Selections / Modify / Contract 1 pixel
Delete no teclado
Selections / Select None
11) Ative a Varinha Mágica e selecione entre os dois quadros
Layers / New Raster Layer
Preencha com a cor #f8f2e5 ( cor 3)
Selections / Select None
Opacidade / 34
12) Layers / New Raster Layer
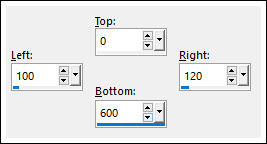
Selections Tool (S) / Custom Selection
13) Preencha com a cor do Segundo Plano (cor 2)
Selections / Select None
Effects / Plugins / Two Moon / Venitian Builder.
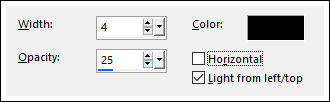
14) Effects / 3D Effects / Drop Shadow: 2 / 2 / 50 / 10,00 / #000000
15) Abra o tube <<alenza_coeurs sur l'image>> Copie e Cole como nova layer
Posicione sobre a barra
Effects / 3D Effects / Drop Shadow: 2 / 2 / 50 / 10,00 / #000000
16) Effects / Plugins / Alien Skin Eye Candy 5 / Impact / Glass / Clear
17) Layers / Duplicate
Ative a Ferramenta Selection to Rectangle e selecione os 3 corações da parte inferior
Copie
Delete no teclado
Selections / Select None
Cole como nova layer
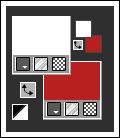
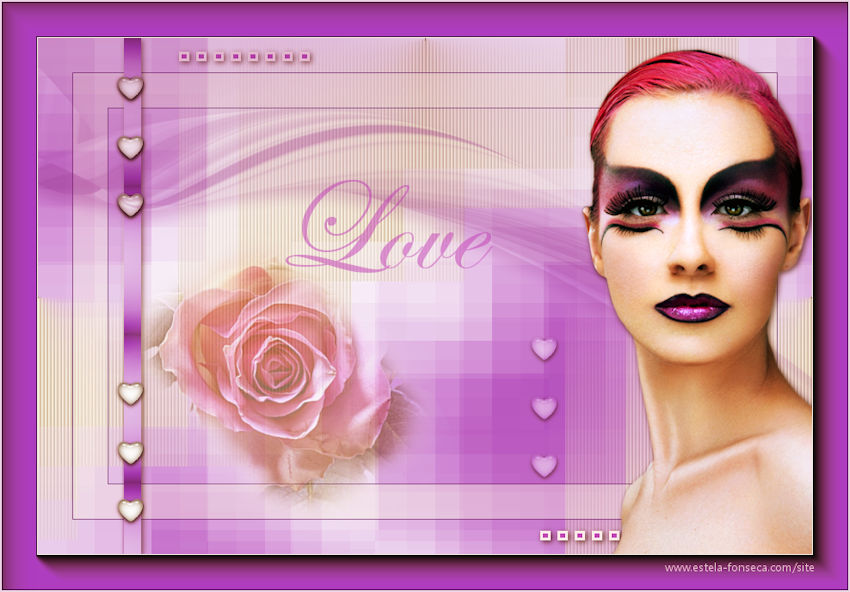
Posicione à direita ( veja a imagem final no topo desta página)
Blend Mode / Hard Light
Opacidade / 47
18) Ative a Layer do fundo (Raster 1)
Layers / New Raster Layer
Preencha com a cor do Segundo Plano (cor 2)
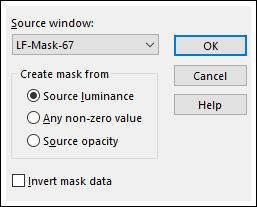
Abra a Mask <<LF-Mask-67>> Minimize
Layers / New Mask layer / From Image:
19) Layers / Merge / Merge GroupOpacidade / 43
Layers / Arrange / Move Up
20) Ative a layer do topo
Layers / New Raster Layer
Selections / Load save selection / Load selection from disk: alenza_select360
Preencha com a cor #f8f2e5 (cor 3)
Selections / Modify / Contract 3 pixels
Preencha com a cor do Segundo Plano ( cor 2)
Selections / Select None
Effects / 3D Effects / Drop Shadow: 2 / 2 / 50 / 10,00 / #000000
Layers / Arrange / Move Down
21) Abra o tube <<K@rine dreams_Red_Woman_315_Janvier_2016>>
Image / Resize / 75 %... Resize All layers ... Marcado
Copie e Cole como nova layer
Effects / 3D Effects / Drop Shadow: 2 / 2 / 50 / 10,00 / #000000
22) Abra o tube <<MR_flacon coeur>> Image / Resize / 80 %... Resize All Layers...Marcado
Copie e Cole como nova layer
Effects / 3D Effects / Drop Shadow: 2 / 2 / 50 / 10,00 / #000000
Posicione à esquerda
23) Ferramenta <<Texto>> Fonte <<Edwardian Script IT>> Tam 150 pixels
Digite << Love>> cor do Segundo Plano (cor 2)24) Opacidade / 22
Posicione
25) Image / Add Borders / Symmetric Marcado / 2 pixel cor f8f2e5(cor 3)
Image / Add Borders / Symmetric Marcado / 40 pixels cor do Segundo Plano ( cor 2)
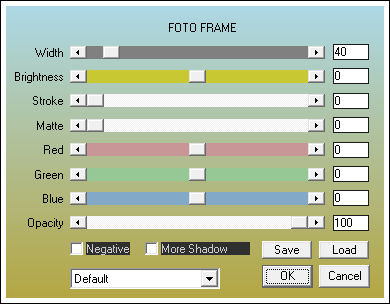
26) Effects / Plugin / AAA Frames / Foto frame.
27) Image / Add Borders / Symmetric Marcado / 2 pixel cor f8f2e5(cor 3)
28) Assine seu trabalho
Layers / Merge / Merge All (Flatten)
Redimensione se desejar
Salve como jpeg.
Versão com tube de Luz Cristina e Thafs:
©Tutorial Traduzido por Estela Fonseca 10/10/2017.
Obrigada Alenza por me permitir traduzir seu trabalho.