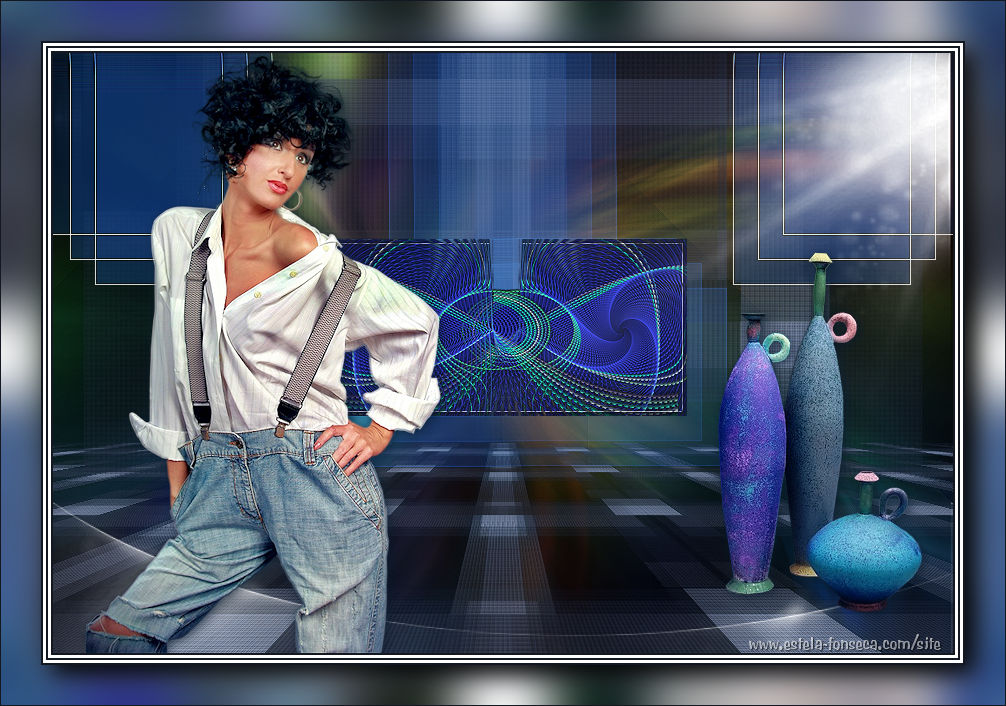
NATURAL WOMAN
Tutorial de ©Adri. Original AQUI.
Traduzido no PSP X9
Materiais Necessários:
Tube de Guismo e de Dania
Mask de Narah
Demais materiais de Adriana
Plugins Utilizados:
SimpleVan der Lee / Unplugged X
Toadies
Graphic Plus
Mura's Meister´s / Perspective tiling
Alien skin Eye candy 5 Impact
Preparação:Abra os tubes no PSP, duplique e feche os originais. Minimize
Abra a Mask no PSP e Minimize
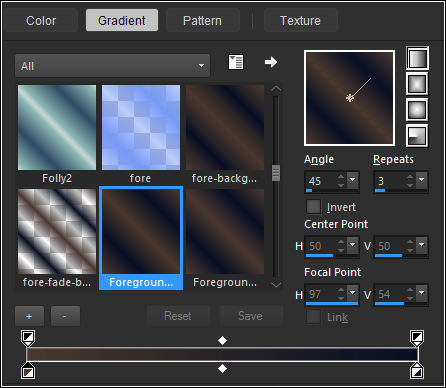
1- Abra uma Nova Imagem transparente de 900/600 pixelsPrimeiro Plano cor #4a392e
Segundo Plano cor #091025
Gradiente Estilo <<Linear>> Configurado como segue:
Preencha a Layer com o Gradiente
Effects / Plugin / Simple / Pizza Slice Mirror
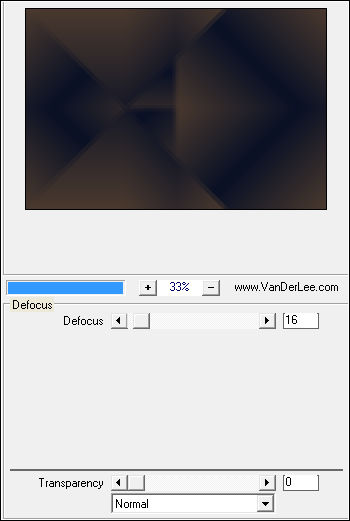
Effects / Plugin / Van der Lee / Unplugged X / Defocus
Effects / Plugin / Simple / Blintz
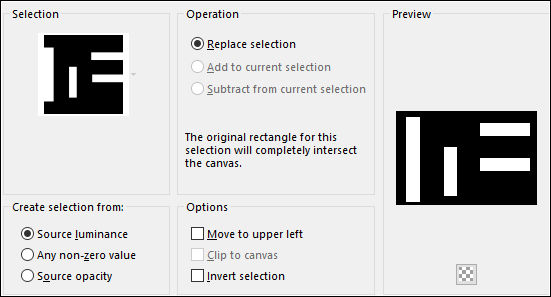
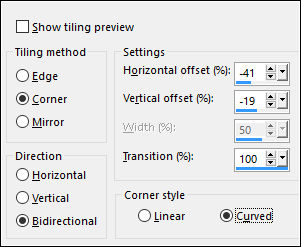
2- Selections / Load /Save Selection / Load Selection from Disk: Adri selec 1
Selections / Promote Selection to Layer
Effects / Texture Effects / Blinds / Cor #a7c3ef
Repita:
Selections / Select None
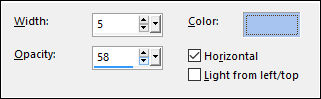
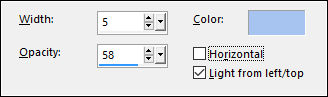
Efffects / 3D Effects / Drop Shadow: cor #0a1d30
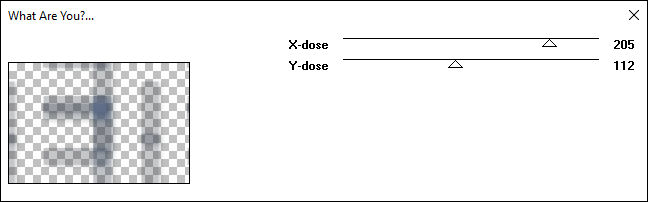
Effects / Plugin/ Toadies / What are you
Effects / Image Effects / Seamless Tiling
Effects / Edge Effects / Enhance
Layers / DuplicateImage / Mirror / Mirror Horizontal
Layers / Merge / Merge Down
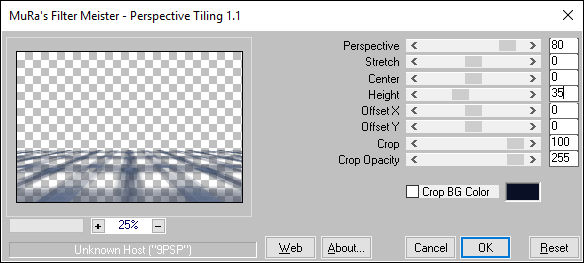
3- Layers / Duplicate
Effects / Plugin / Mura's Meister / Perspective Tiling
Adjust / Sharpness / Sharpen
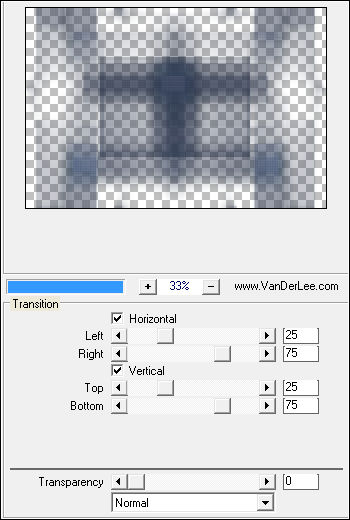
Layers / Arrange / Move Down4- Ative a Layer do topo <<Promote selections>>
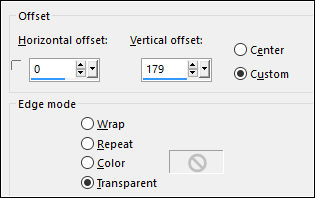
Effects / Plugin / UnPlugged X /Van Der Lee / Transmition
Effects / Image Effects / Offset:
5- Ative a Layer <<Raster 1>>
Effects / Plugin / Graphic Plus / Cross Shadow
Effects / Edge Effects / Enhance
Blend Mode / Soft Light6- Layers / New Raster Layer
Selections / Select All
Maximize a imagem <<bk nat.woman jpg >>Copie e Cole na Seleção
Selections / Select None
Layers / Arrange / Move Down
7- Ative a Layer do topo
Abra o tube <<Deco1 Nat.woman>>
Copie e Cole como nova layer
Blend Mode / Hard Light
Layers / Duplicate
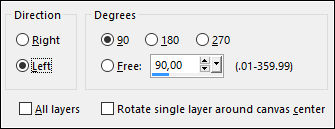
Image / Free Rotate / 90 / Left
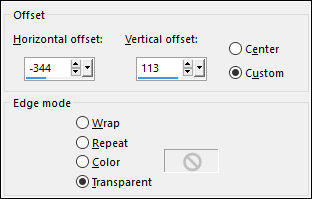
Effects / Image Effects / Offset:
Layers / Duplicate
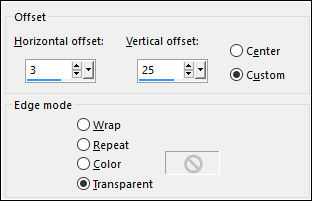
Effects / Image Effects / Offset:
Layers / Duplicate
Image / Mirror / Mirror Horizontal
Layers / Merge / Merge Down
Effects / Edge Effects / Enhance8- Layers / New Raster Layer
Abra o tube <<Deco2 Nat.woman>>Copie e Cole Como Nova Layer
Effects / Image Effects / Offset:
9- Layers / New Raster Layer
Preencha com a cor #ffffff
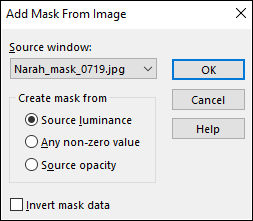
Abra a Mask <<Narah _Mask_0719>> MinimizeLayer / New Mask Layer / From Image
Layers / Duplicate
Layers / Merge / Merge Group10 - Maximize o tube << calguisdeco15112016 >>
Copie e Cole Como Nova Layer
Image / Resize / 60%...Resize All Layers ... Desmarcado
Adjust / Sharpness / Sharpen
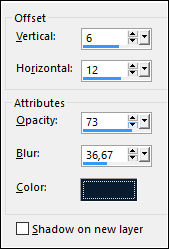
Effects / 3D Effects / Drop Shadow
Posicione à Direita
11- Abra o tube <<Dani@1688 >>
Copie e Cole como nova layer
Image / Resize / 78%...Resize All Layers ... Desmarcado
Adjust / Sharpness / Sharpen
Effects / 3D Effects / Drop Shadow
12- Image / Add Borders / Symmetric Marcado / 2 pixels cor #141821
Image / Add Borders / Symmetric Marcado / 3 pixels cor #ffffff
Image / Add Borders / Symmetric Marcado / 2 pixels cor #141821
Image / Add Borders / Symmetric Marcado / 3 pixels cor #ffffff
Image / Add Borders / Symmetric Marcado / 2 pixels cor #141821
Selections / Select All
Image / Add Borders / Symmetric Marcado / 40 pixels cor #ffffff
Selections / Invert
Effects / Plugin / Simple / Half Warp
Adjust / Blur / Gaussiam Blur / Radius 25
Selections / Invert
Effects / Plugin / Alien Skin Eye Candy 5 / Impact / Perspective Shadow / Drop Shadow,Blurry
Selections /Select None
Image / Add Borders / Symmetric Marcado / 1 pixel cor #141821Assine seu trabalho
Salve como jpg.
Segunda Versão com tube de LB Tubes e de Maryse :
VOLTAR
©Tutorial Traduzido por Estela Fonseca em 25/06/2017.
Obrigada Adri por me permitir traduzir seu trabalho.