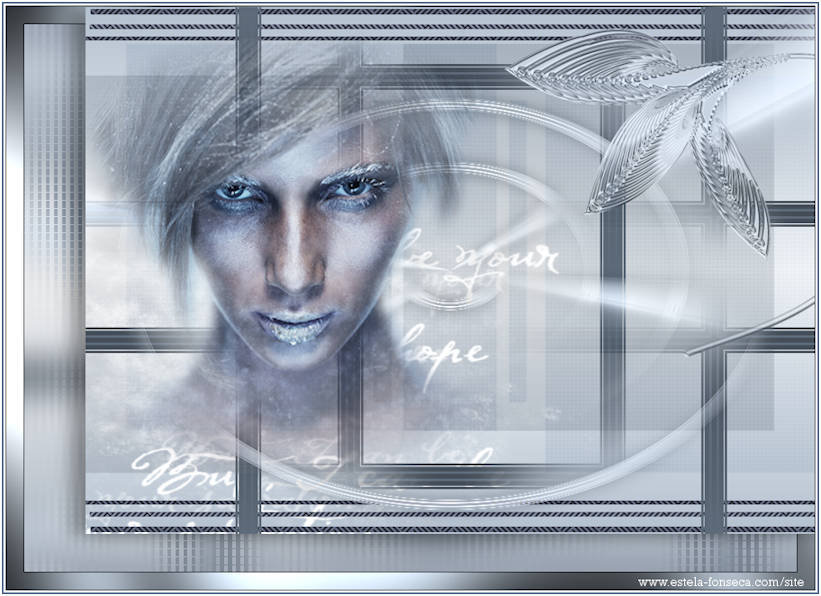
BRUSH STROKES
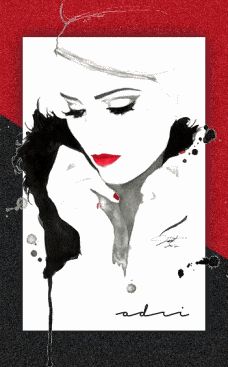
Tutorial de ©Adri. Original AQUI.
Traduzido no PSP X8
Materiais Necessários:
Tube Thaif preaty woman
Selection Ad_ 15, Selection Ad_ 16 e Selection Ad_ 17
Mask Vix Mask 388
Tube gold decorative
Plugins Utilizados:
Ap Lines Silverlining – dotty Grid
Plugins - L&K Palmyre
Plugins - L&K Katharina
Aliens skin impact - perspective shadow
Mhedi - Quik Mirror
AAA Filters - Transparent Frame
graphic plus – Cross shadow
01- Abra uma nova imagem transparente de 900/650 pixelsPrimeiro Plano cor #5e5e5e
Segundo Plano Cor #f1bacc
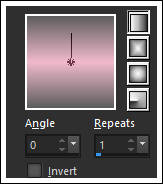
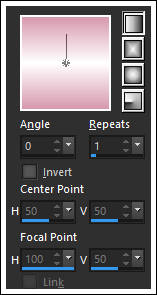
Forme um Gradiente estilo <<Linear>> Angle 0 / Repeats 1
Preencha a Layer com o Gradiente
02- Layers /New Raster Layer
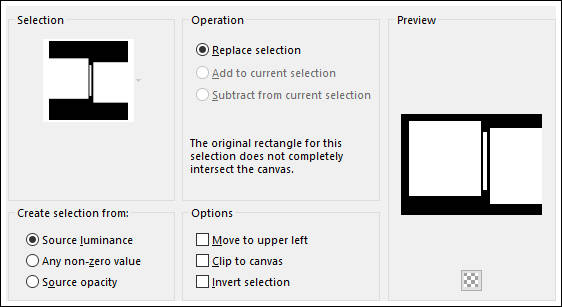
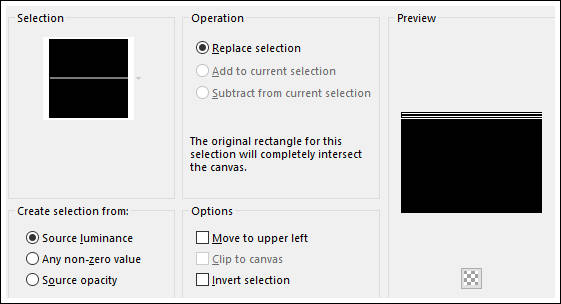
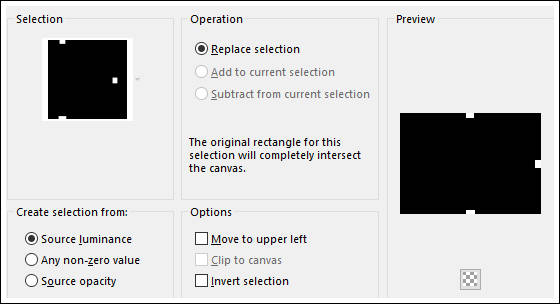
Selections / Load/Save Selection / Load Selection From Disk: Ad_15
Preencha a seleção com a cor #f1bacc
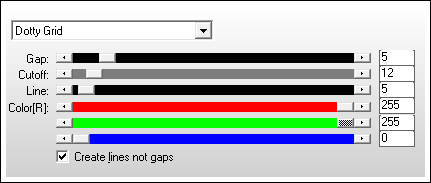
Effects / Plugin / Ap Lines / Lines - Silverlining : Dotty Grid
Selections / Select None
Blend Mode / OverlayOpacidade / 18
Effects / Edge Effects / Enhance
03- Layers / DuplicateImage / Mirror / Mirror Horizontal (Image-Mirror)
04- Layers - New Raster Layer
Preencha com a cor #fffffff
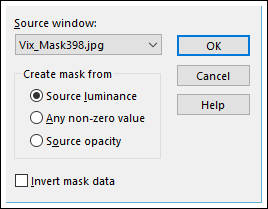
Abra a mask <<Mask Vix Max 388>> Minimize
Layers / New Mask layer / From Image:
Layers / Merge / Merge Group
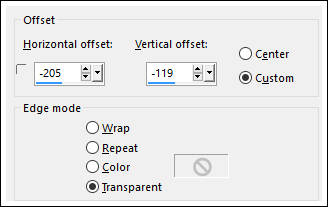
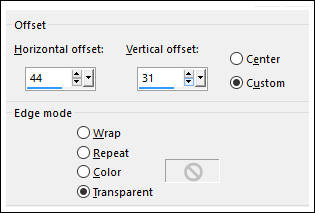
Effects / Image Effects / Offset
05- Layers / New Raster Layer
Selections / Load/Save Selection / Load Selection From Disk: Ad_16
Primeiro Plano cor #d799ad / Segundo Plano cor #fffffff / Gradiente estilo <<Linear>>
Preencha a seleção com o Gradiente
Effects / Plugins / L&K / Palmyre
Selections / Select None
Layers / Duplicate
Image / Mirror / Mirror Vertical (Image-Flip)
06- Layers / New Raster Layer
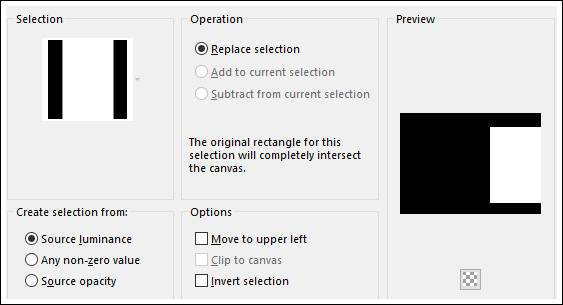
Selections / Load/Save Selection / Load Selection From Disk: Ad_17
Preencha a seleção com o Gradiente
Selections / Modify / Contract / 3 pixels
Edit / Cut ou Delete no teclado
Preencha a seleção com a cor #FFFFFF
Selections / Modify / Contract / 3 Pixels
Preencha com o Gradiente
Selections / Modify / Contract / 5 pixelsEdit / Cut ou Delete no teclado
07- Preencha a seleção com a cor #FFFFFF
Selections / Modify / Contract / 1 pixelEdit / Cut ou Delete no teclado
Selections / Modify / Contract / 1 pixel
Preencha com o Gradiente
Selections / Modify / Contract / 3 pixels
Edit / Cut ou Delete no teclado
Selections / Select None
08- Effects / Plugin / Mehdi / Quick Mirror
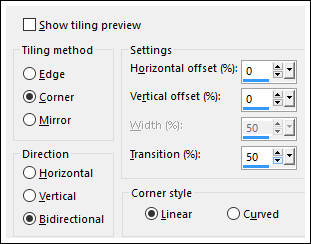
Effects / Image Effects / Seamless Tiling
09- Selections / Load/Save Selection / Load Selection From Disk: Ad_19
Edit / Cut (Ou delete no teclado)
Selections / Select None
Image / Mirror / Mirror Horizontal (Image-Mirror)
Layers / Duplicate
Effects / Distortion Effects / Wind / From Right Marcado / Wind Strength: 70
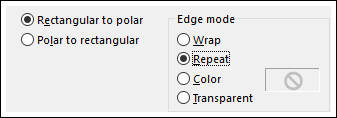
Effects / Distortion Effects / Polar Coordinates
10- Effects / 3D Effects / Drop Shadow: 0 / 2 / 35 / 27,72 / #000000
Blend Mode / Luminance (Legacy)
11- Abra o tube <<Gold_Decorative_Leaves_PNG_Clipart>> Copie e Cole como nova layerImage / Resize / 82% (resize all layers desmarcado)
Effects / Image Effects / Offset
Blend Mode / Luminance (Legacy)
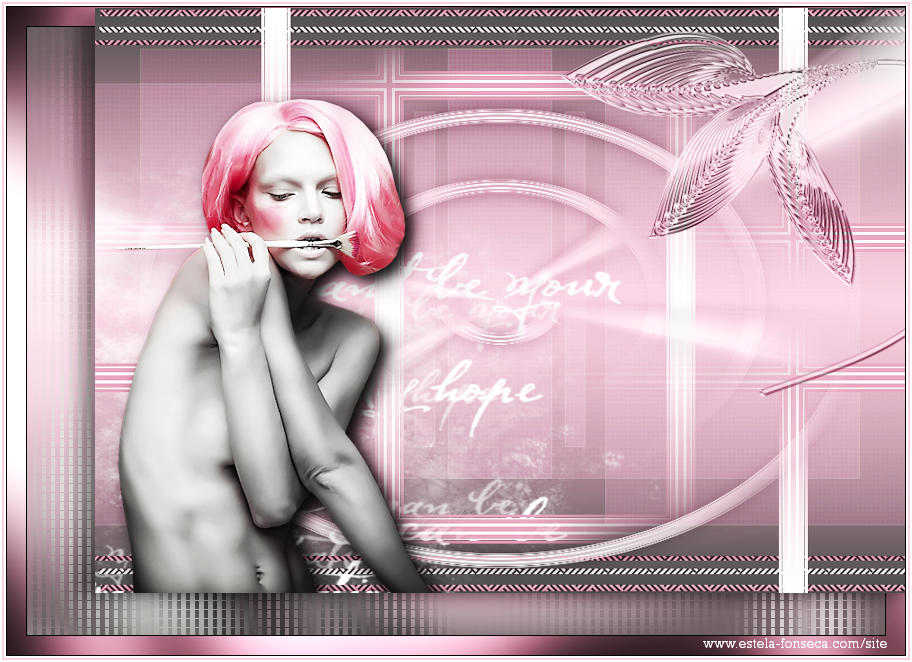
12- Abra o tube <<beauty_woman_84_tubed_by_thafs>>
Copie e Cole como nova layer
Image / Resize / 70% (resize all layers desmarcado)
13- Effects / Plugin / Alien Skin Eye Candy 5 / Impact / Perspective Shadow: Drop shadow Blurry
Layers / Merge / Merge VisibleLayers / Duplicate
Image / Resize / 90% (resize all layers desmarcado)
Effects / Image Effects / Offset
Effects / 3D Effects / Drop Shadow: 3 / -16 / 35 / 27,72 / #000000
Repita com os valores : -3 / 15 / 35 / 27,72 / #000000
14- Ative a layer do Fundo
Adjust / Blur / Gaussian Blur / Radius 20
15- Effects / Plugin / L &K / Khatrerina
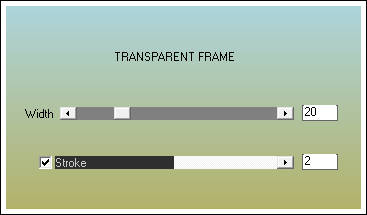
Effects / Plugins / AAA Filters / Transparent Frame
Layers / New Raster Layer
Layers / Arrange / Send to Bottom
Preencha com o Gradiente
Effects / Plugin / Graphic Plus / Cross Shadow
16- Image / Add Borders / Symmetric marcado / 2 pixels cor #ffffff
Image / Add Borders / Symmetric marcado / 2 pixels cor #f1bacc
Image / Add Borders / Symmetric marcado / 2 pixels cor #ffffffAssine seu trabalho
Salve como JPG
Segunda Versão com tube de Querida:
VOLTAR
©Tutorial Traduzido por Estela Fonseca em 20/07/2015.
Obrigada Adri por me permitir traduzir seu trabalho.