TOP SEEKING YOU
Tutorial de Adita's Creations traduzido com a autorização da autora.
Original - AQUI
Programa Corel Paint Shop Pro X3 - AQUI
Este tutorial pode ser feito em outras versões do Programa
Material Necessários:
Tubes:
Femme_Futuriste_Nini_Tube
https://ninidesing.centerblog.net/
2241 Luz Cristina
Dani@0864
1Patries_MetalGourldDecoContainers-29-7-09
aditas_image_seekingyouaditascreations_mask_17
aditascreations_mask_18
aditascreations_selection_seekingyou_01
coloque as seleções na pasta de seleções de My PSP Files
aditascreations_brush_seekingyou_01
aditascreations_brush_seekingyou_02
coloque os brushes e BrushTips na pasta de brushes de My PSP Files
Plugins Utilizados:
I.C.Net Software Filters Unlimited 2.0
VM Tool Box-Blast aqui (Importado para o Unlimited)
Photoshopfun II-Kylie
Xero- SuperSmood
Richard Rosenman-Solid Border
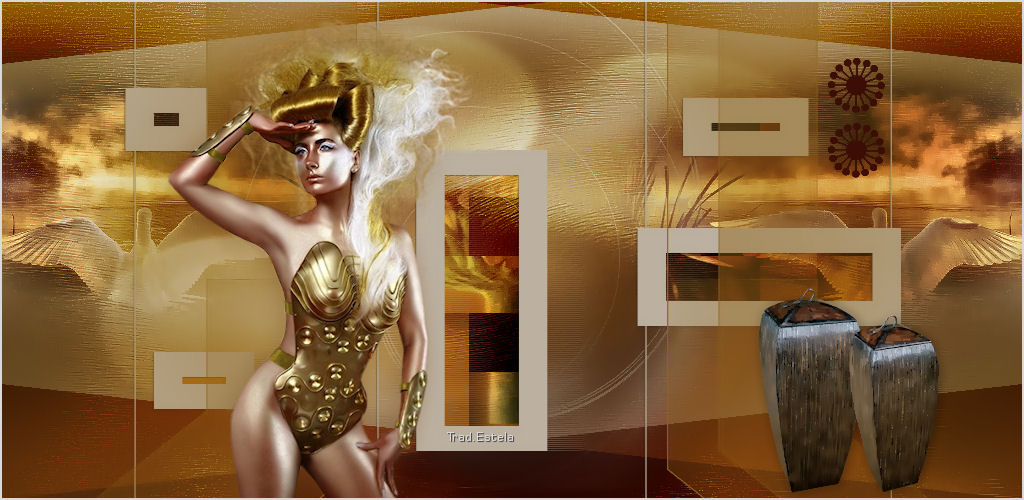
01- abra uma imagem transparente de 1024 x 500
Background cor #DAD8D9
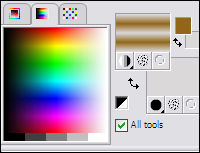
Gradiente Linear valores da imagem:
02- Preencha com o gradiente
Selections, Select All
Ative o tube Femme_Futuriste_Nini_Tube
Duplique, use a cópia
Image, Resize, 65 %
03- Copie e Cole na seleçãoSelections, Select None
04- Effects, Image Effects, Seamless Tiling :
05- Adjust, Blur, Gaussian Blur , radius : 35
06- Effects, Plugins, I.C.Net Software, Filters Unlimited 2.0, VMToolBox, Blast: 12007- Effects, Distortion Effects, Twirl: -78
08- Effects, Edge Effects, Enhance More
Layers, New Raster Layer
Selections, Select All
Ative a imagem aditas_image_seekingyou
Copie e Cole na seleção
Selections, Select None
Blend Mode da layer Overlay , Opacidade 65
09- Selections, Select None
Layers, Merge, Merge All (Flatten)
10- Layers, New Raster Layer / Foreground cor #BCB1A0
Ative a Ferramenta Flood Fill Tool / Preencha a imagem
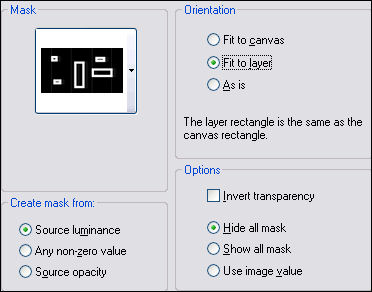
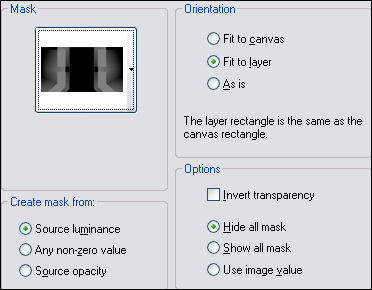
11- Layers, Load/Save Mask, Load Mask From Disk
Mask aditascreations_mask_18 , como segue:
Layers, Merge, Merge Groups
12- Effects, 3D Effects, Drop Shadow: 1 / -1/ 40/ 2,00/ #000000
13- Layers, New Raster Layer
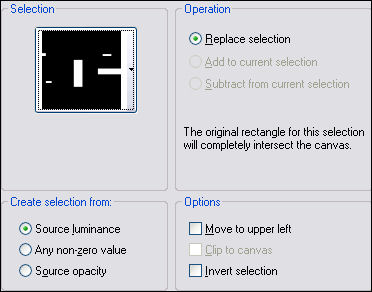
Selections, Load/Save Selection, Load Selection From Disk
Seleção aditascreations_selection_seekingyou_01
14- Foreground cor #91661A preencha a seleção
Ative o tube Dani@0864
Duplique, use a cópia
Copie e Cole na Seleção
15- Effects, Plugins, Photoshopfun II, Kylie: 93/245
Blend Mode da layer: Overlay
Selections, Select None
Layers, Arrange, Move Down
Ative a layer Background
16- Layers, New Raster Layer
ative o tube 2241 Luz Cristina
Duplique e use a cópia
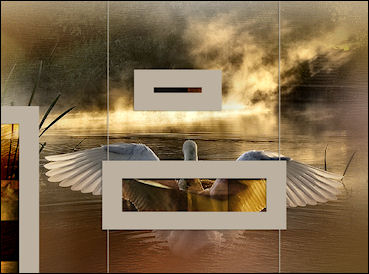
Copie e Cole como nova seleçãoColoque exatamente como na imagem:
17- Selections, Select None
Effects, Geometric Effects, Perspective Horizontal: 45 / Color / #452604
Blend Mode : Overlay
Layers, Duplicate
Image, Mirror
18- Layers, New Raster Layer / Foreground cor #BCB1A0
19- Layers, New Raster Layer , Ative a Ferramenta Paint Brush Tool
Brush aditascreations_brush_seekingyou_01 , valores da imagem abaxo:
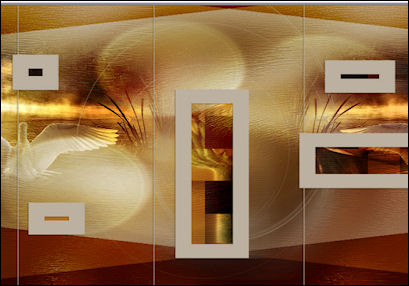
Coloque o brush mais ou menos como na imagem seguinte:
20- Adjust, Sharpness, Sharpen
Layers, Merge, Merge All (Flatten)
21- Layers, New Raster Layer
Foreground cor #91661A preencha a layer
22- Layers, Load/Save Mask, Load Mask From Disk
mask aditascreations_mask_17 como na imagem que segue:
Layers, Merge, Merge Group
Ative o tube 1Patries_MetalGourldDecoContainers-29-7-09
Duplique, use a cópia
Image, Resize 45%
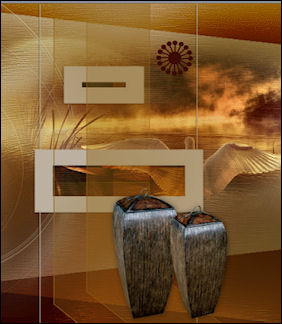
Copie e cole como nova layer , Coloque como no exemplo.
23- Effects, 3D Effects, Drop Shadow valores da imagem:0/1/46/12,87/#000000
24- Layers, New Raster Layer
Foreground cor #3B0D05
Ative a Ferramenta Paint Brush
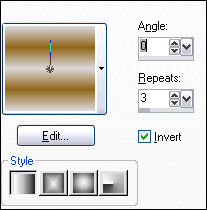
Brush aditascreations_brush_seekingyou_02 / Valores conforme a seguinte imagem:
25- Coloque o brush como na imagem abaixo:
26- Effects, 3D Effects, Drop Shadow: 0/-1/17/2,00/#000000
27- Layers, Duplicate
Effects, Image Effects, Offset : 0/ -65/ Custom / Transparente
Layers, Merge, Merge All (Flatten)
28- Effects, Plugins, Xero, SuperSmood :
Ative o tube Femme_Futuriste_Nini_Tube
Copie e Cole como nova layer29- Effects, Image Effects, Offset: -177/ - 10 / Custom / Transparente
30- Effects, 3D Effects, Drop Shadow : 2/ -4/ 41 / 34,65 /#7a4b1f
31- Layers, Merge, Merge Visibles
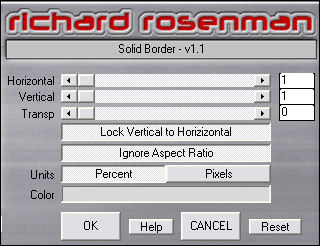
32- Effects, Plugins, Richard Rosenman, Solid Border: cor #dad8d9
33- Layers, New Raster Layer, coloque a sua marca dágua ou seu nome.
Salve em Jpeg.
VOLTAR©Tutorial traduzido por Estela Fonseca em 08 de agosto de 2010.
Não alterar nem repassar sem autorização.